9. OpenStack with Ceph
In this chapter, you will deploy an OpenStack environment integrated with Ceph. Ceph provides a shared backend for Glance images, Nova and Cinder volumes and Swift objects.
| Chapter Details | |
|---|---|
| Chapter Goal | Deploy OpenStack environment with Ceph |
| Chapter Sections | |
9.1. Prerequisites
Check that the following prerequisites have been met:
- You have access to the lab environment.
- You have created all of the required virtual networks (3.2. Create Virtual Networks)
- You have successfully installed the Fuel Master node (3.4. Install Fuel)
- Fuel Master node is up and running
- Fuel Master node is connected to the Internet (3.5. Check Fuel Installation)
9.2. Delete the Existing OpenStack Environment
You will create a new OpenStack environment. Before deploying a new one with Ceph, you need to tear down the existing environment. If you don’t have an OpenStack environment deployed, then skip these steps.
Step 1 Log in to Fuel UI, choose Test environment, choose the Dashboard tab and press Delete Environment.

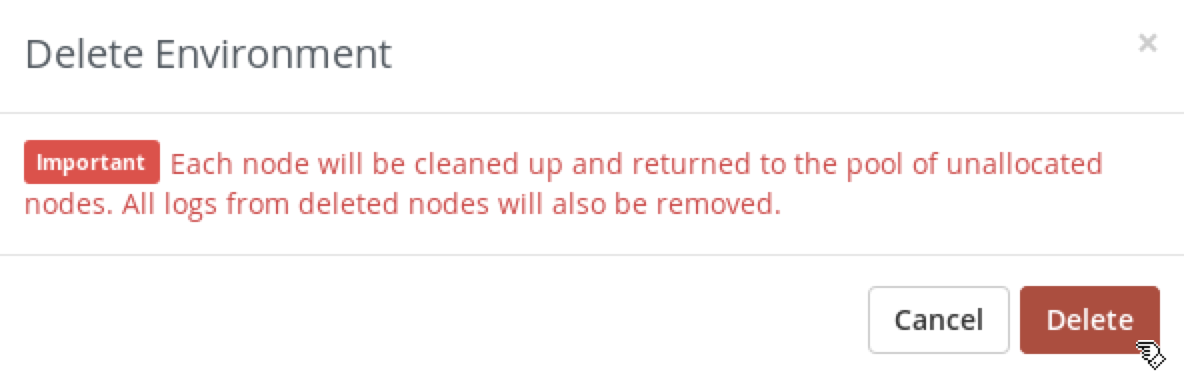
Step 2 Fuel will display a confirmation dialog. Press Delete.
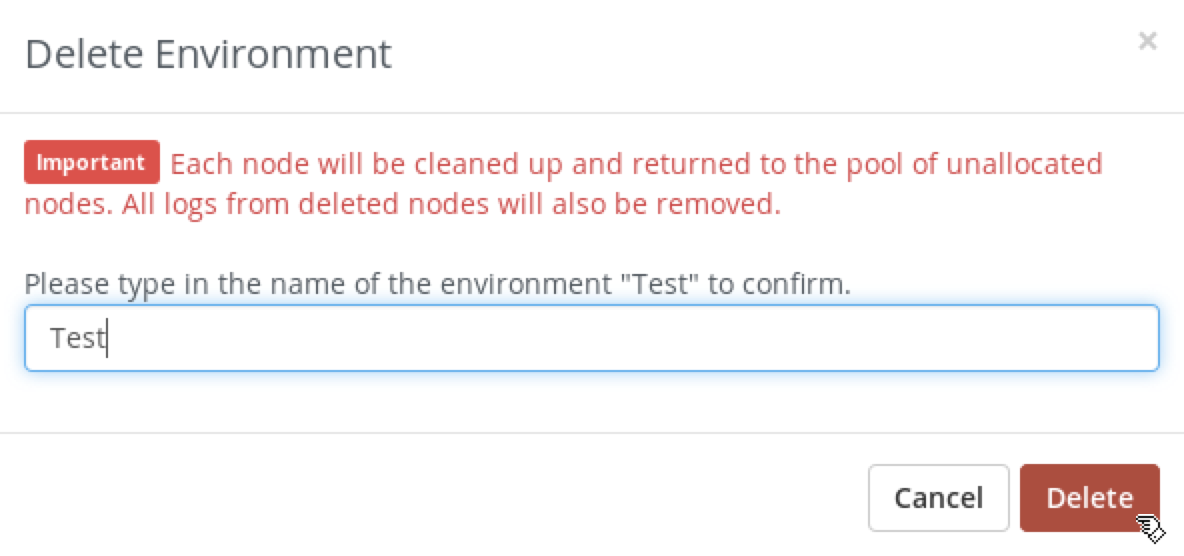
Step 3 Fuel will ask you to enter the name of the environment. Enter Test and press Delete button.
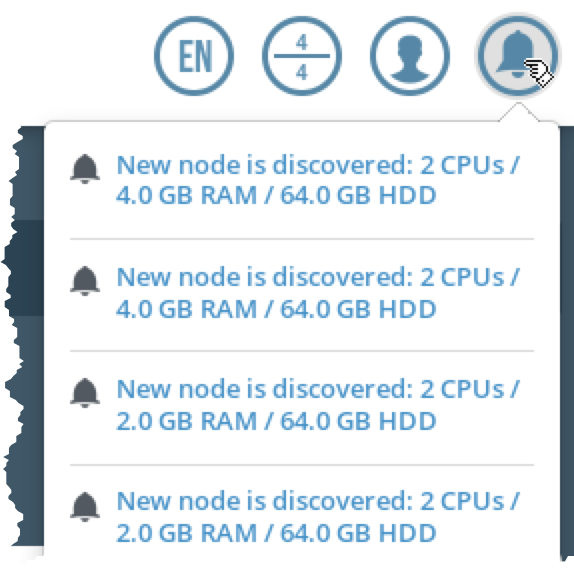
Step 4 Wait while Fuel deletes the environment. During this process, Fuel will reboot the nodes and they will be discovered by Fuel again.
Step 5 Identify which nodes you are going to use for the next step. Shut down unnecessary nodes, if any. In a shut down state you can change their names, disk and RAM, if necessary, to use them as Ceph nodes for the next step.
9.3. Create Controller, Compute and Ceph Nodes
To deploy an OpenStack environment with Ceph, you will need controller, compute and 2 Ceph nodes, assuming that Ceph replication factor is 2.
Note
It is possible to combine the Ceph OSD role with other roles, such as controller or compute. In this chapter we will use dedicated VMs for Ceph roles.
Name:       controller
CPUs:       2
RAM:        4096MB
Disk:       60GB
Network 1:  Virtual network 'admin'  : Isolated
Network 2:  Virtual network 'public' : NAT
Name:       compute
CPUs:       2
RAM:        4096MB
Disk:       60GB
Network 1:  Virtual network 'admin'  : Isolated
Network 2:  Virtual network 'public' : NAT
Name:       ceph1
CPUs:       2
RAM:        2048MB
Disk:       60GB
Network 1:  Virtual network 'admin'  : Isolated
Network 2:  Virtual network 'public' : NAT
Name:       ceph2
CPUs:       2
RAM:        2048MB
Disk:       60GB
Network 1:  Virtual network 'admin'  : Isolated
Network 2:  Virtual network 'public' : NAT
Create new VMs or edit existing VMs using the specification above. The required steps are similar to the steps from sections 4.2.1. Create Controller Node or 4.2.2. Create Compute Node.
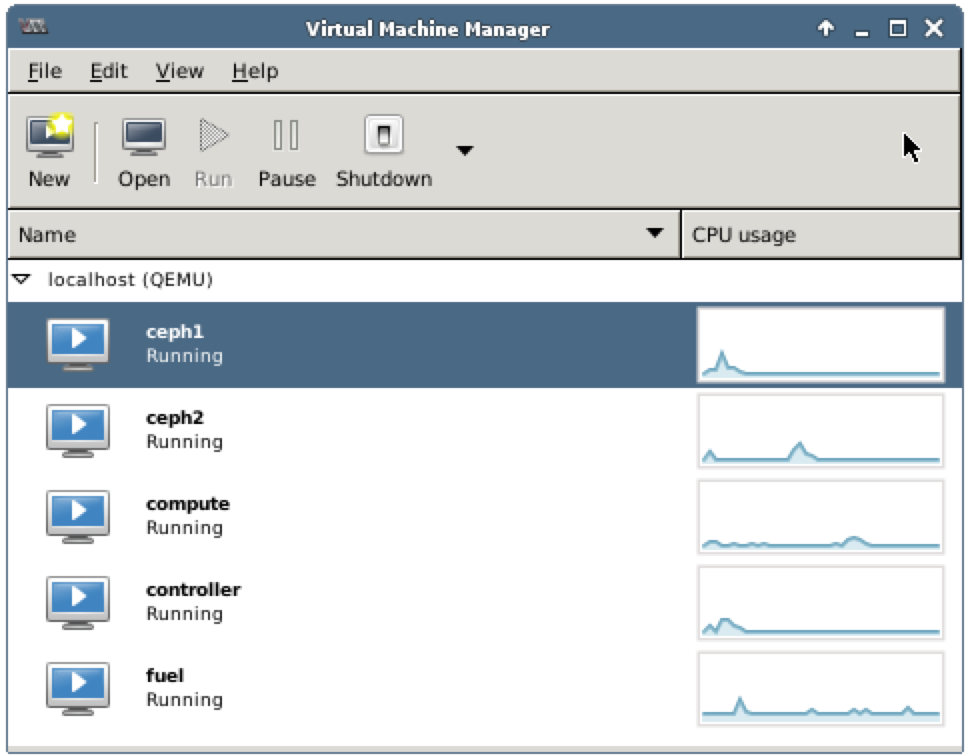
Fuel should have discovered 4 nodes.
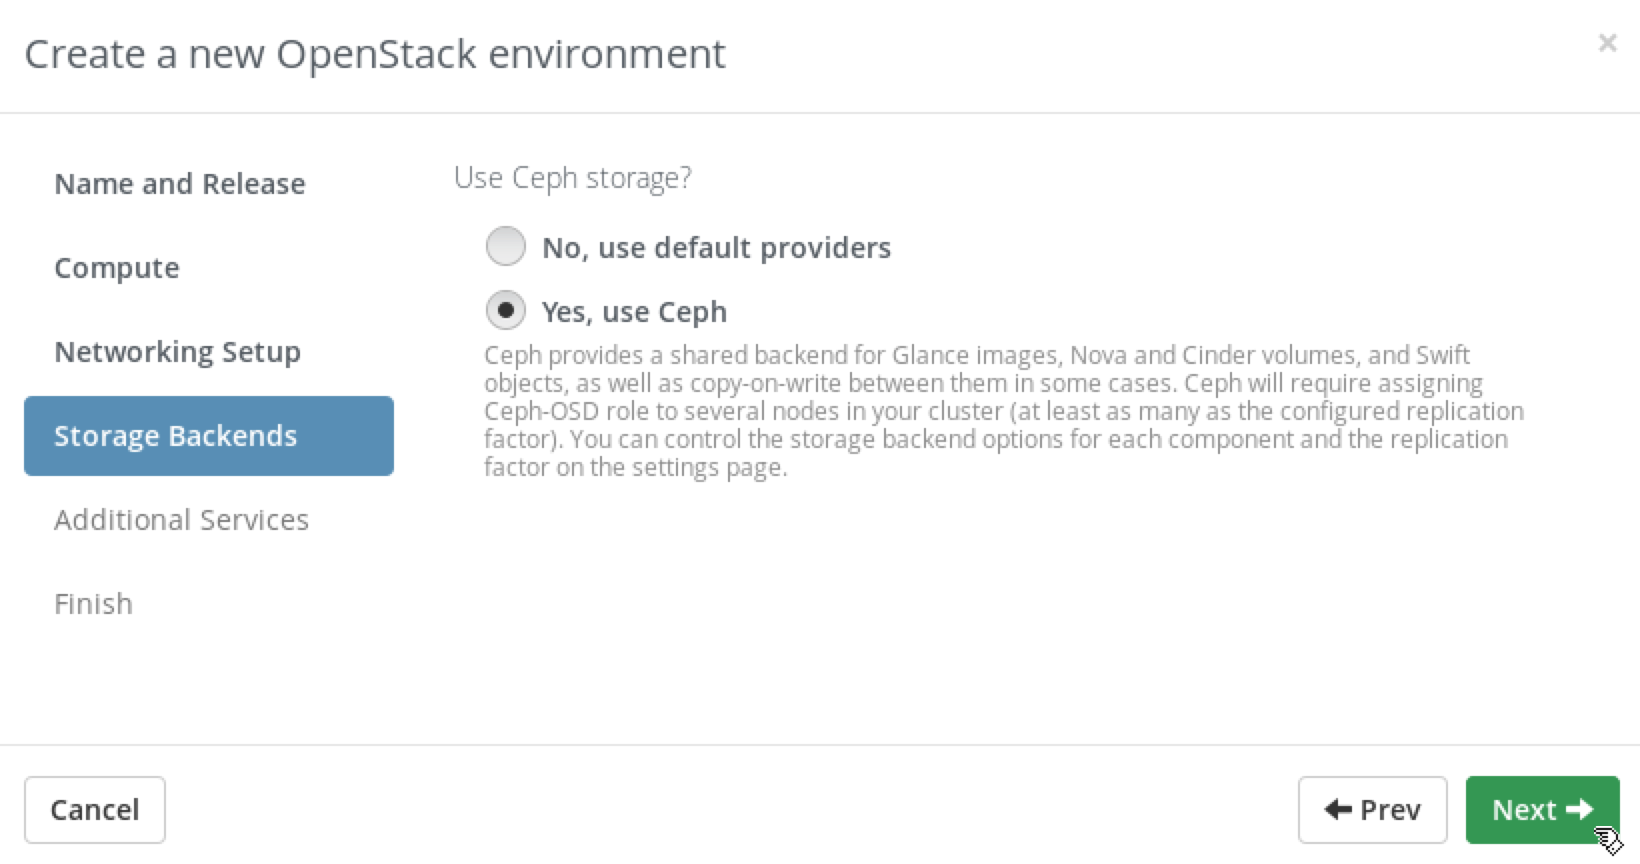
9.4. Create OpenStack Environment with Ceph
The required steps are similar to the steps from section 4.3. Create a New Environment to create a new environment, except step 6. Instead, on Storage Backends page choose Yes, use Ceph.
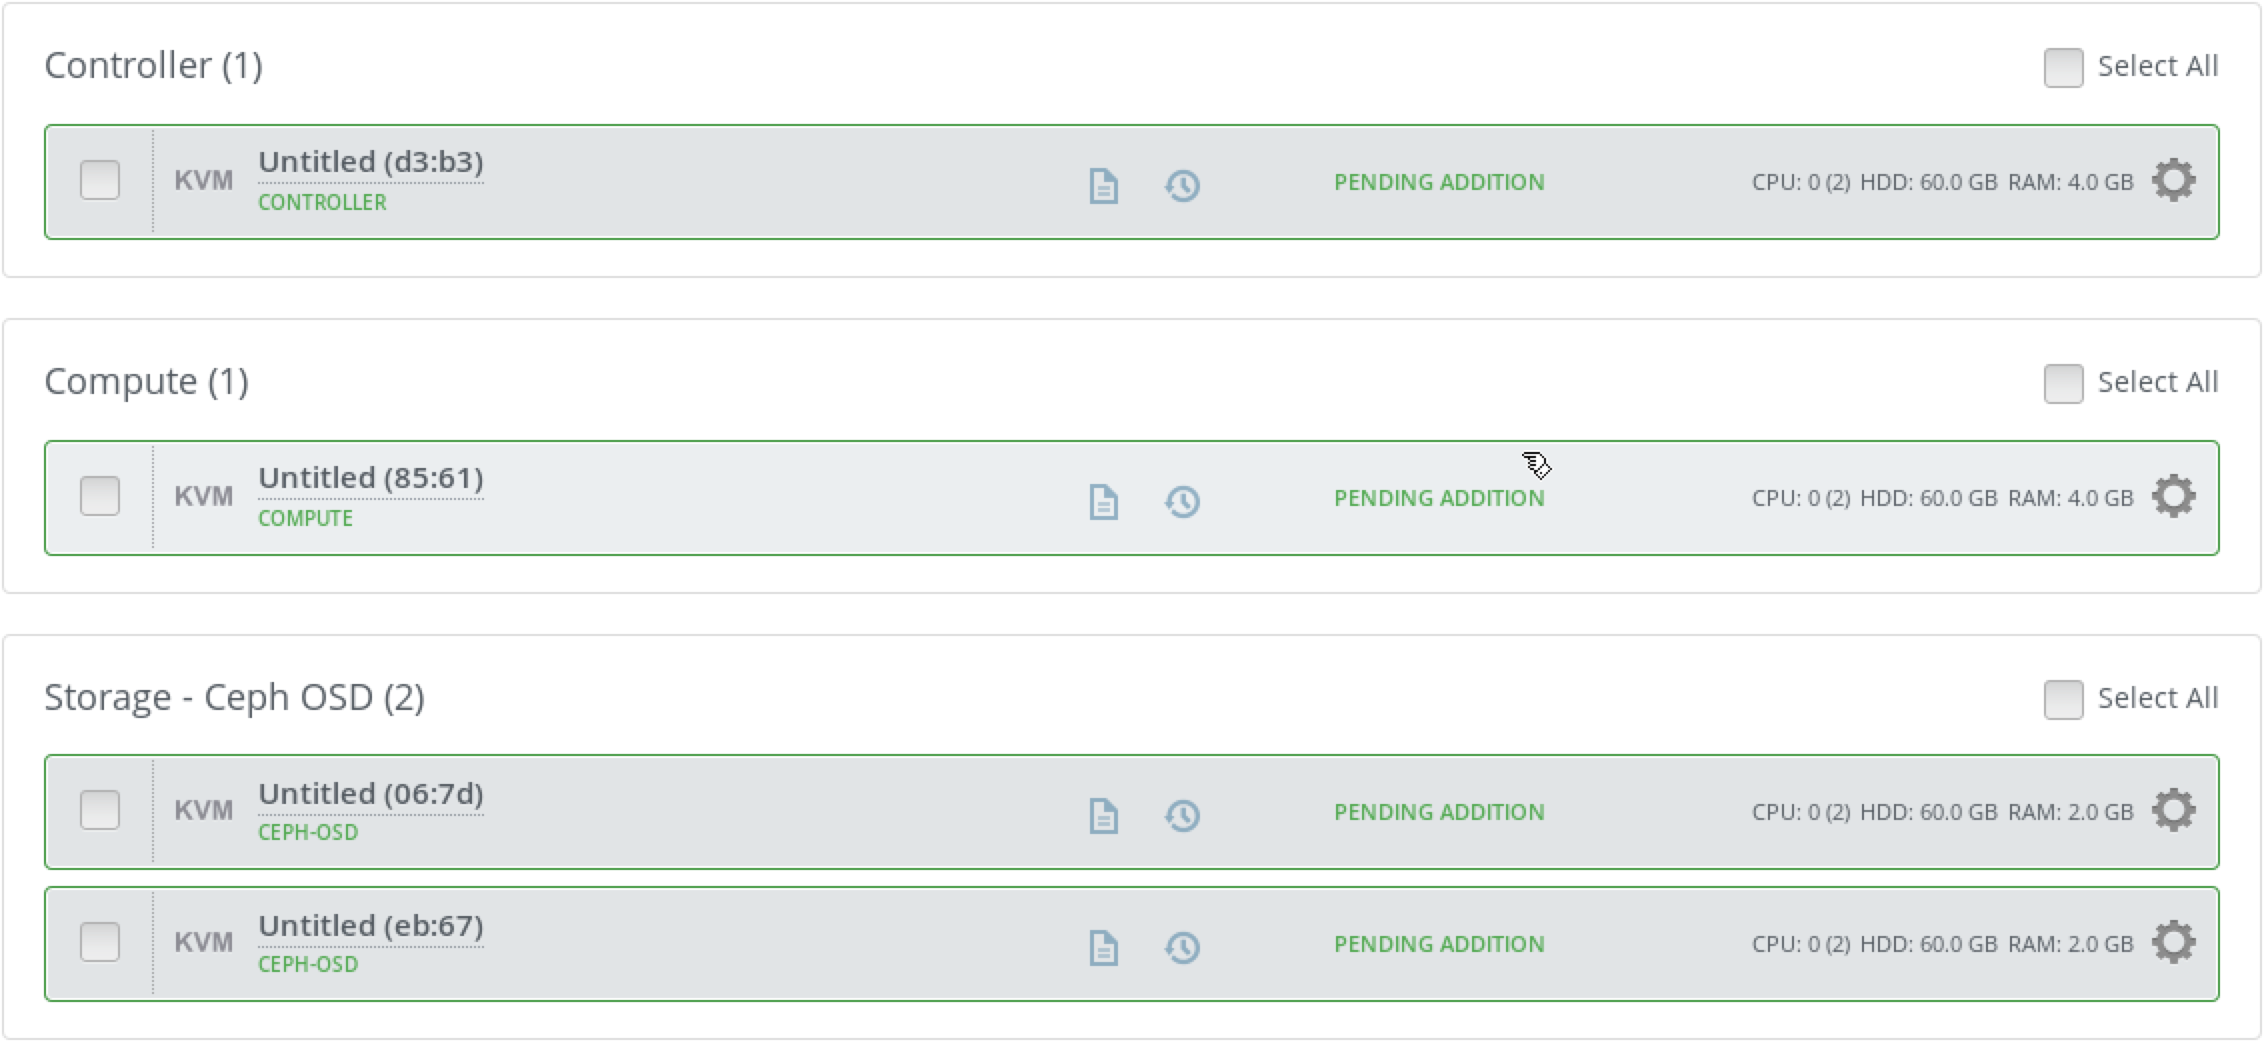
9.5. Assign Roles to the Nodes
The required steps are similar to the steps from section 4.4. Assign Roles to the Nodes. Additionally, assign the Ceph OSD role to both ceph1 and ceph2 nodes.
9.6. Verify Networks
Follow the steps from section 4.5. Verify Networks.
9.7. Deploy the Environment
Follow the steps from section 4.6. Deploy Simple Environment. Tell the Instructor when you start the deployment. Instead of waiting the deployment to complete, the Instructor can fast-forward your lab the the state, where the deployment is complete.
9.8. Verify the Environment
We will use Ceph command line to check its cluster state. To do this you will need to log in to Fuel Master node, find the IP address of the controller node, login to the controller node and execute ceph health and ceph status commands:
Step 1 Open Terminal Emulator and log in to Fuel Master node as root using r00tme as the password.
$ ssh root@10.20.0.2
[root@fuel ~]#
Step 2 Execute fuel nodes command to see nodes and their IP addresses.
[root@fuel ~]# fuel nodes
id | status | name             | cluster | ip        | mac               | roles      | pending_roles | online | group_id
---|--------|------------------|---------|-----------|-------------------|------------|---------------|--------|---------
3  | ready  | Untitled (eb:67) | 1       | 10.20.0.5 | 52:54:00:c1:eb:67 | ceph-osd   |               | True   | 1
4  | ready  | Untitled (06:7d) | 1       | 10.20.0.6 | 52:54:00:6c:06:7d | ceph-osd   |               | True   | 1
1  | ready  | Untitled (d3:b3) | 1       | 10.20.0.3 | 1e:10:b2:f4:fa:8a | controller |               | True   | 1
2  | ready  | Untitled (85:61) | 1       | 10.20.0.4 | 52:54:00:2c:85:61 | compute    |               | True   | 1
Step 3 Log in to the controller node:
[root@fuel ~]# ssh 10.20.0.3
root@node-1:~#
Step 4 Execute ceph health command
root@node-1:~# ceph health
HEALTH_OK
Step 5 Execute ceph status command
root@node-1:~# ceph status
    cluster 54fae5ba-171f-401d-be7a-2174f0ea7374
     health HEALTH_OK
     monmap e1: 1 mons at {node-1=192.168.0.3:6789/0}, election epoch 1, quorum 0 node-1
     osdmap e36: 2 osds: 2 up, 2 in
      pgmap v598: 768 pgs, 12 pools, 12977 kB data, 51 objects
            4201 MB used, 78598 MB / 82799 MB avail
                 768 active+clean
9.9. Explore the Environment
In this environment, you have two dedicated Ceph nodes, each of them has Ceph OSD running. The single Ceph Monitor is running on the controller node. We will explore how Ceph acts as storage backend for OpenStack Block Storage (Cinder), OpenStack Image Service (Glance). Also we will explore how Ceph is configured as an ephemeral backend for OpenStack Compute (Nova).
On the controller node, execute the following command to list the existing Ceph pools:
root@node-1:~# ceph osd lspools
0 data,1 metadata,2 rbd,3 images,4 volumes,5 backups,6 .rgw.root,7 .rgw.control,8 .rgw,9 .rgw.gc,10 .users.uid,11 compute,
Use the following command to list Ceph users and permissions for the pools:
root@node-1:~# ceph auth list
installed auth entries:

osd.0
    key: AQCUSzZWoOYrIBAAIum1T1zf6Dzsbtcb7w5/1A==
    caps: [mon] allow profile osd
    caps: [osd] allow *
osd.1
    key: AQDASzZWuGXfAhAAkcQU1t21vXy/qK2Zf3braw==
    caps: [mon] allow profile osd
    caps: [osd] allow *
client.admin
    key: AQDqSDZWkN+vFxAA5K/uwdyux5NjkJXKVzqd7g==
    caps: [mds] allow
    caps: [mon] allow *
    caps: [osd] allow *
client.backups
    key: AQC5TDZW8O+HARAAk1fxNjDkbXLN/8MRh0qnlQ==
    caps: [mon] allow r
    caps: [osd] allow class-read object_prefix rbd_children, allow rwx pool=backups, allow rx pool=volumes
client.bootstrap-mds
    key: AQDqSDZWaB9aLRAArARHQ94CtPGtIU+6D6XeKQ==
    caps: [mon] allow profile bootstrap-mds
client.bootstrap-osd
    key: AQDqSDZWgG01IxAAXSG7DuGMz4bzgN6nu2EeRA==
    caps: [mon] allow profile bootstrap-osd
client.compute
    key: AQD7TDZWYPGcDBAASQj/v51m5HkpN65EedhmxA==
    caps: [mon] allow r
    caps: [osd] allow class-read object_prefix rbd_children, allow rwx pool=volumes, allow rx pool=images, allow rwx pool=compute
client.images
    key: AQC0TDZWGLugIhAAYFnzZCScLeugon+9oNB0gQ==
    caps: [mon] allow r
    caps: [osd] allow class-read object_prefix rbd_children, allow rwx pool=images
client.radosgw.gateway
    key: AQAISTZWsFAGIRAAk7ty9jknD0Tl3J0ZTI+vWA==
    caps: [mon] allow rw
    caps: [osd] allow rwx
client.volumes
    key: AQC2TDZWIErzJBAArIwU4FwNvvj2WYMaile9lQ==
    caps: [mon] allow r
    caps: [osd] allow class-read object_prefix rbd_children, allow rwx pool=volumes, allow rx pool=images
9.9.1. Ceph integration with Glance
In this environment, the Ceph pool images and the Ceph user images are used by Glance. We will upload a new image to Glance and verify that the image will be created in the Ceph pool images.
Step 1 Execute the following commands to explore the content in the images pool:
root@node-1:~# rbd -p images ls
b8197d64-b311-408a-b700-8412aceca540

root@node-1:~# rbd -p images info b8197d64-b311-408a-b700-8412aceca540
rbd image 'b8197d64-b311-408a-b700-8412aceca540':
    size 12976 kB in 2 objects
    order 23 (8192 kB objects)
    block_name_prefix: rbd_data.10903ab81577
    format: 2
    features: layering
The existing image in the images pool corresponds to the TestVM image that is already uploaded to Glance. Let’s verify that:
root@node-1:~# source openrc
root@node-1:~# openstack image list
+--------------------------------------+--------+
| ID                                   | Name   |
+--------------------------------------+--------+
| b8197d64-b311-408a-b700-8412aceca540 | TestVM |
+--------------------------------------+--------+
Note that the image IDs in Glance and in the images pool are the same.
Step 2 Open a new Terminal Emulator window. Do not close the existing window where you are logged in to the controller node.
Step 3 Download a test image:
stack@lab:~$ wget \
http://download.cirros-cloud.net/0.3.4/cirros-0.3.4-x86_64-disk.img
Step 4 The downloaded image is in QCOW2 format. We can use it as is, but to leverage copy-on-write features the Glance image format must be RAW. To convert the image to RAW format we will use qemu-img tool:
stack@lab:~$ qemu-img convert \
cirros-0.3.4-x86_64-disk.img \
cirros-0.3.4-x86_64-disk.raw
Step 5 Open Firefox and log in to Horizon (https://172.16.0.3). Use name admin and password admin to log in. Firefox might complain about using the untrusted connection, see 1.5. Working with Firefox for a workaround.
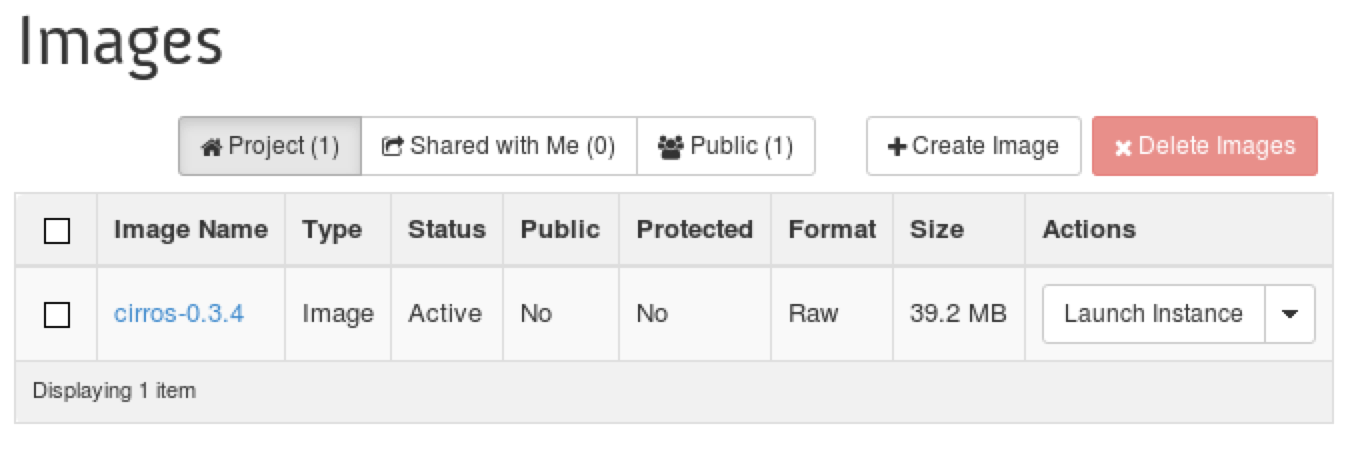
Step 6 In Horizon, choose Project, Compute, Images, then click on the button Create image.

Step 7 In the Create An Image specify cirros-0.3.4 in the Name field, choose Image File in the Image Source field, click on the Browse button and choose cirros-0.3.4-x86_64-disk.raw that is generated by qemu-img tool in the /home/stack directory. Make sure that the field``Format`` is set to Raw. Press Create Image and check that the image is created:
Step 8 Return to the Terminal Emulator window where you are logged in to the controller node and use the following command to list Glance images:
root@node-1:~# openstack image list
+--------------------------------------+--------------+
| ID                                   | Name         |
+--------------------------------------+--------------+
| f2945e6e-0135-45f4-8cda-4222143a7424 | cirros-0.3.4 |
| b8197d64-b311-408a-b700-8412aceca540 | TestVM       |
+--------------------------------------+--------------+
Note that IDs are randomly generated and you should expect different IDs in your case. Use the actual ID from your output in the following steps. Now let’s explore the content in the images pool:
root@node-1:~# rbd -p images ls
b8197d64-b311-408a-b700-8412aceca540
f2945e6e-0135-45f4-8cda-4222143a7424

root@node-1:~# rbd -p images info f2945e6e-0135-45f4-8cda-4222143a7424
rbd image 'f2945e6e-0135-45f4-8cda-4222143a7424':
    size 40162 kB in 5 objects
    order 23 (8192 kB objects)
    block_name_prefix: rbd_data.11e46aad0e11
    format: 2
    features: layering
As you can see Glance has created a new image in the Ceph pool.
9.9.2. Ceph integration with Cinder
In this environment, the Ceph pool volumes and the Ceph user volumes are used by Cinder. We will create a new Cinder volume and verify that the volume will be created in the Ceph pool volumes.
Step 1 Use the Terminal Emulator window where you are logged in to the controller node to check that there is no Cinder volumes:
root@node-1:~# openstack volume list
Check that there is no content in the volumes pool:
root@node-1:~# rbd -p volumes ls
Step 2 Create a new volume:
root@node-1:~# openstack volume create --size 1 vol1
+---------------------+--------------------------------------+
| Field               | Value                                |
+---------------------+--------------------------------------+
| attachments         | []                                   |
| availability_zone   | nova                                 |
| bootable            | false                                |
| created_at          | 2016-06-16T20:43:06.446359           |
| display_description | None                                 |
| display_name        | vol1                                 |
| encrypted           | False                                |
| id                  | ab55d2cf-6326-418d-9f9e-84f7e35e5a8e |
| multiattach         | false                                |
| properties          |                                      |
| size                | 1                                    |
| snapshot_id         | None                                 |
| source_volid        | None                                 |
| status              | creating                             |
| type                | None                                 |
+---------------------+--------------------------------------+
Step 3 Check that the volume exists in Cinder:
root@node-1:~# openstack volume list
+--------------------------------------+---------------------------+-----------+------+-------------+
| ID                                   | Display Name              | Status    | Size | Attached to |
+--------------------------------------+---------------------------+-----------+------+-------------+
| ab55d2cf-6326-418d-9f9e-84f7e35e5a8e | vol1                      | available |    1 |             |
+--------------------------------------+---------------------------+-----------+------+-------------+
Note that IDs are randomly generated and you should expect different IDs in your case. Use the actual ID from your output in the following step.
Step 4 Check that the volume exists in Ceph:
root@node-1:~# rbd -p volumes ls
volume-ab55d2cf-6326-418d-9f9e-84f7e35e5a8e

root@node-1:~# rbd -p volumes info volume-ab55d2cf-6326-418d-9f9e-84f7e35e5a8e
rbd image 'volume-ab55d2cf-6326-418d-9f9e-84f7e35e5a8e':
    size 1024 MB in 256 objects
    order 22 (4096 kB objects)
    block_name_prefix: rbd_data.12092a76f88f
    format: 2
    features: layering, striping
    stripe unit: 4096 kB
    stripe count: 1
9.9.3. Ceph integration with Nova
In this environment, the Ceph pool compute and the Ceph user compute are used by Nova. We will boot a new instance using the uploaded image and verify that its ephemeral disk is created in Ceph. Also we will boot a new instance from volume and verify that in both cases Ceph uses copy-on-write clones of the original image.
Step 1 Check that the pool compute is empty:
root@node-1:~# rbd -p compute ls
Step 2 In Horizon, use the image cirros-0.3.4 to launch a new instance Test.
Step 3 Use the Terminal Emulator window where you are logged in to the controller node to check that the VM exists in Nova:
root@node-1:~# nova list
+---------------+------+--------+------------+-------------+---------------+
| ID            | Name | Status | Task State | Power State | Networks      |
+---------------+------+--------+------------+-------------+---------------+
| c0f90bd2-9f8a | Test | ACTIVE | -          | Running     | 192.168.111.3 |
+---------------+------+--------+------------+-------------+---------------+
Note that IDs are randomly generated and you should expect different IDs in your case. Use the actual ID from your output in the following steps.
Step 4 Check that VM’s ephemeral volume exists in Ceph:
root@node-1:~# rbd -p compute ls
c0f90bd2-9f8a_disk
c0f90bd2-9f8a_disk.config
Step 5 Use the ID from the output above to see the details:
root@node-1:~# rbd -p compute info c0f90bd2-9f8a_disk
rbd image 'c0f90bd2-9f8a_disk':
    size 1024 MB in 128 objects
    order 23 (8192 kB objects)
    block_name_prefix: rbd_data.6eb87110b48c
    format: 2
    features: layering, striping
    flags:
    parent: images/f2945e6e-0135-45f4-8cda-4222143a7424@snap
    overlap: 40162 kB
    stripe unit: 8192 kB
    stripe count: 1
Step 6 Use the following command to check that there is a new snapshot of the uploaded image (use the ID from the section “Ceph integration with Glance”):
root@node-1:~# rbd snap ls images/f2945e6e-0135-45f4-8cda-4222143a7424
SNAPID NAME     SIZE
     1 snap 40162 kB
Step 7 Use the following command shows to check there is one child volume (clone) of the specified snapshot:
root@node-1:~# rbd children images/f2945e6e-0135-45f4-8cda-4222143a7424@snap
compute/c0f90bd2-9f8a_disk
Step 8 Now let’s create a new bootable persistent volume from the existing cirros-0.3.4 image. In Horizon, choose Project, Compute, Images. For the cirros-0.3.4 image choose Create Volume:
Step 9 In the Create Volume window, use the default values for the fields (cirros-0.3.4 for the name field, 1GB for the size field) and press Create Volume.
Step 10 For the cirros-0.3.4 volume choose Launch as Instance:
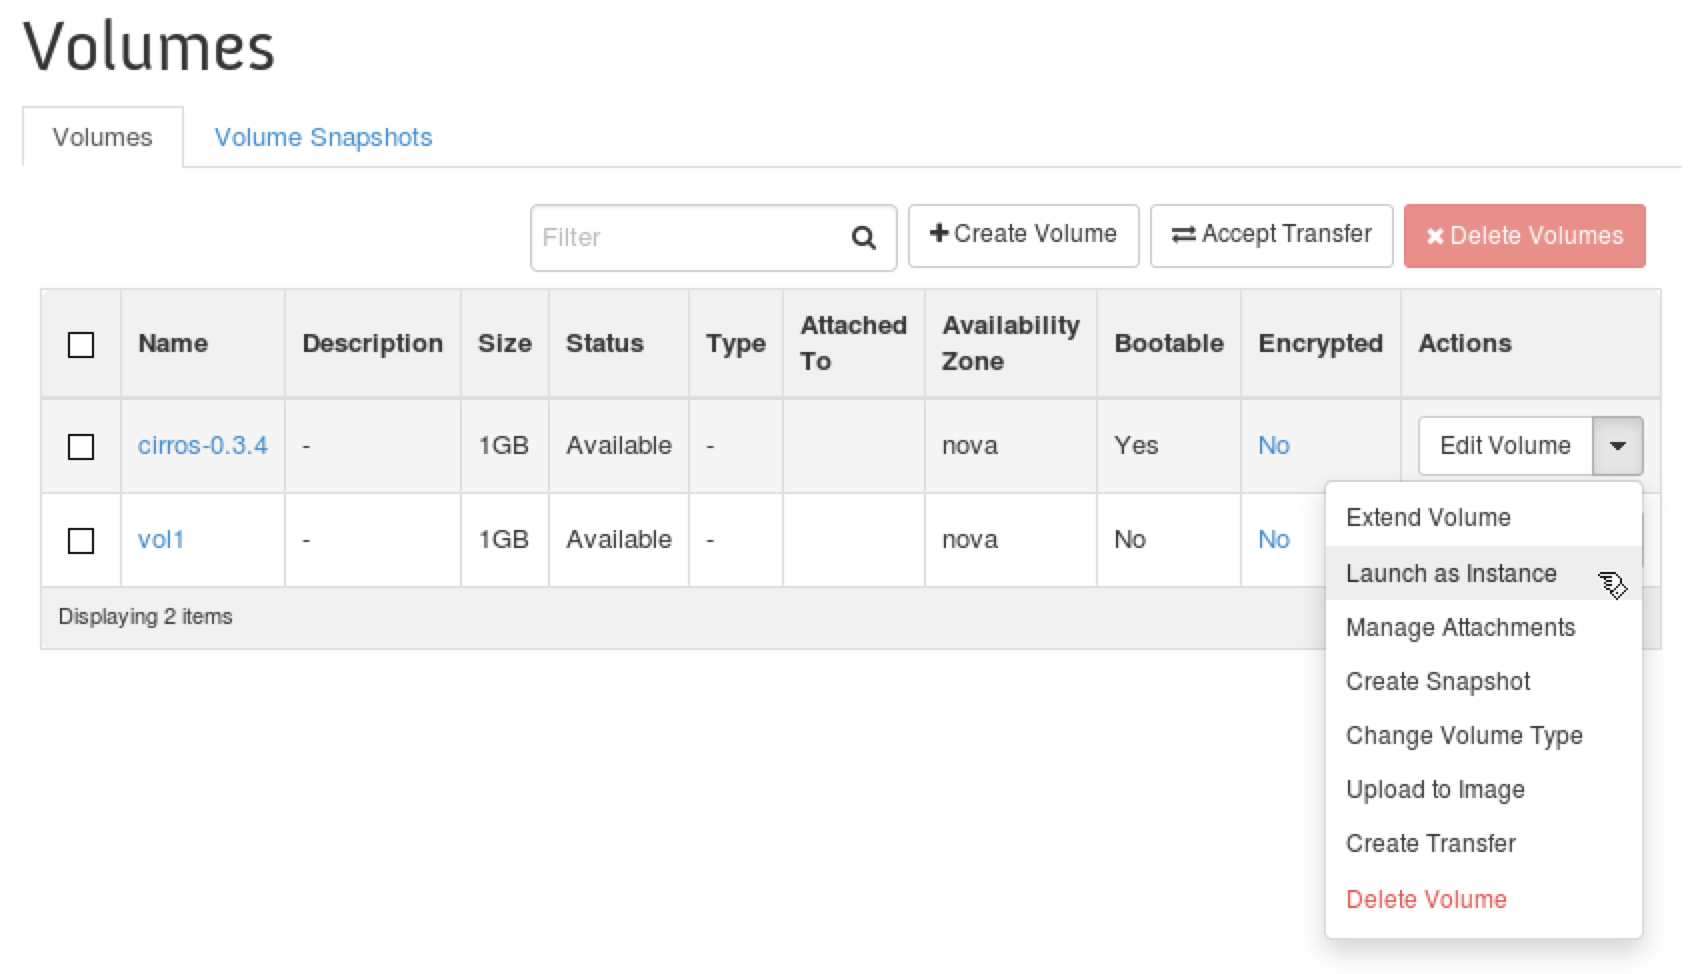
Step 11 In the Launch Instance window, use Test2 for the Instance Name field. On the Networking tab, press + near net04 network. Press Launch.
Step 12 Use the Terminal Emulator window where you are logged in to the controller node to check that both VMs exist in Nova:
root@node-1:~# nova list
+---------------+-------+--------+------------+-------------+---------------+
| ID            | Name  | Status | Task State | Power State | Networks      |
+---------------+-------+--------+------------+-------------+---------------+
| c0f90bd2-9f8a | Test  | ACTIVE | -          | Running     | 192.168.111.3 |
| b40c5c63-6150 | Test2 | ACTIVE | -          | Running     | 192.168.111.4 |
+---------------+-------+--------+------------+-------------+---------------+
Note that IDs are randomly generated and you should expect different IDs in your case. Use the actual ID from your output in the following steps.
Step 13 Check that there is no ephemeral volume in Ceph for that VM, because we have booted it from the volume:
root@node-1:~# rbd -p compute ls
c0f90bd2-9f8a_disk
c0f90bd2-9f8a_disk.config
b40c5c63-6150_disk.config
Step 14 Check the VM details:
root@node-1:~# nova show Test2
+--------------------------------------+--------------------------------------------------+
| Property                             | Value                                            |
+--------------------------------------+--------------------------------------------------+
...
| id                                   | b40c5c63-6150                                    |
| image                                | Attempt to boot from volume - no image supplied  |
| key_name                             | -                                                |
| metadata                             | {}                                               |
| name                                 | Test2                                            |
| net04 network                        | 192.168.111.10                                   |
| os-extended-volumes:volumes_attached | [{"id": "09d91cdb-0c85-497f-86f2-639fcc130333"}] |
...
+--------------------------------------+--------------------------------------------------+

root@node-1:~# rbd -p volumes info volume-09d91cdb-0c85-497f-86f2-639fcc130333
rbd image 'volume-09d91cdb-0c85-497f-86f2-639fcc130333':
    size 1024 MB in 128 objects
    order 23 (8192 kB objects)
    block_name_prefix: rbd_data.12f11b409a76
    format: 2
    features: layering, striping
    parent: images/f2945e6e-0135-45f4-8cda-4222143a7424@snap
    overlap: 40162 kB
    stripe unit: 4096 kB
    stripe count: 1
The output above shows that we have booted the VM from volume, which is a copy-on-write clone of the snapshot of the Glance image.
Congratulations! You have successfully explored an OpenStack environment integrated with Ceph.
Checkpoint
- Tear down the existing OpenStack environment
- Create VMs for Ceph nodes
- Create a new OpenStack environment with Ceph
- Assign controller, compute and Ceph roles to the nodes
- Deploy OpenStack environment with Ceph
- Check that the Ceph cluster is up and running
- Explore how Ceph works with Glance
- Explore how Ceph works with Cinder
- Explore how Ceph works with Nova
- Explore how Ceph copy-on-write feature works with OpenStack
![]()
Table Of Contents
- 1. Classroom Environment
- 2. Explore HA OpenStack
- 3. Fuel Installation
- 4. Simple Deployment
- 5. HA Deployment
- 6. OpenStack Networking
- 7. Fuel Troubleshooting
- 8. Fuel Plugins
- 9. OpenStack with Ceph
- 10. Murano
- 11. Sahara