11. Sahara
In this chapter, you will use a pre-deployed OpenStack environment with Sahara to deploy a Hadoop cluster.
| Chapter Details | |
|---|---|
| Chapter Goal | Deploy an OpenStack environment with Sahara. Deploy a Hadoop cluster. |
| Chapter Sections | |
11.1. Prerequisites
Check that the following prerequisites have been met:
- You have access to the lab environment.
- You have an OpenStack environment deployed with Sahara.
11.2. How your OpenStack environment with Sahara was deployed
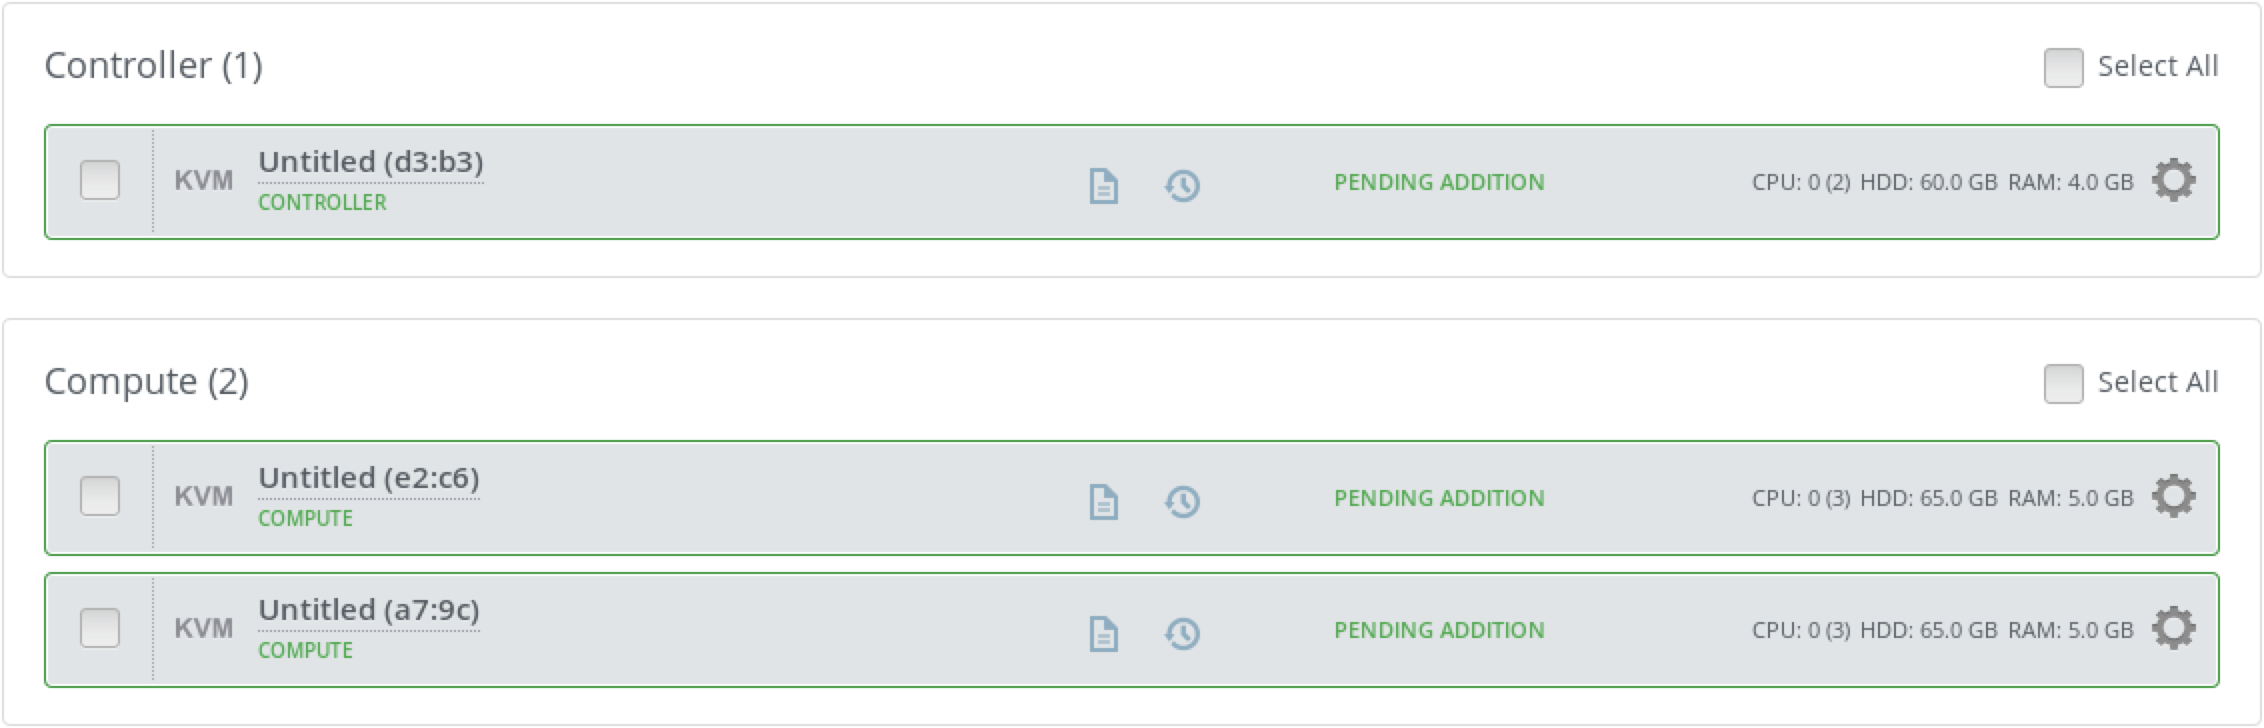
To deploy the OpenStack environment with Sahara, we created one controller and 2 compute nodes with the following configuration:
Name:       controller
CPUs:       2
RAM:        4096MB
Disk:       60GB
Network 1:  Virtual network 'admin'  : Isolated
Network 2:  Virtual network 'public' : NAT
Name:       compute1
CPUs:       3
RAM:        5120MB
Disk:       65GB
Network 1:  Virtual network 'admin'  : Isolated
Network 2:  Virtual network 'public' : NAT
Name:       compute2
CPUs:       3
RAM:        5120MB
Disk:       65GB
Network 1:  Virtual network 'admin'  : Isolated
Network 2:  Virtual network 'public' : NAT
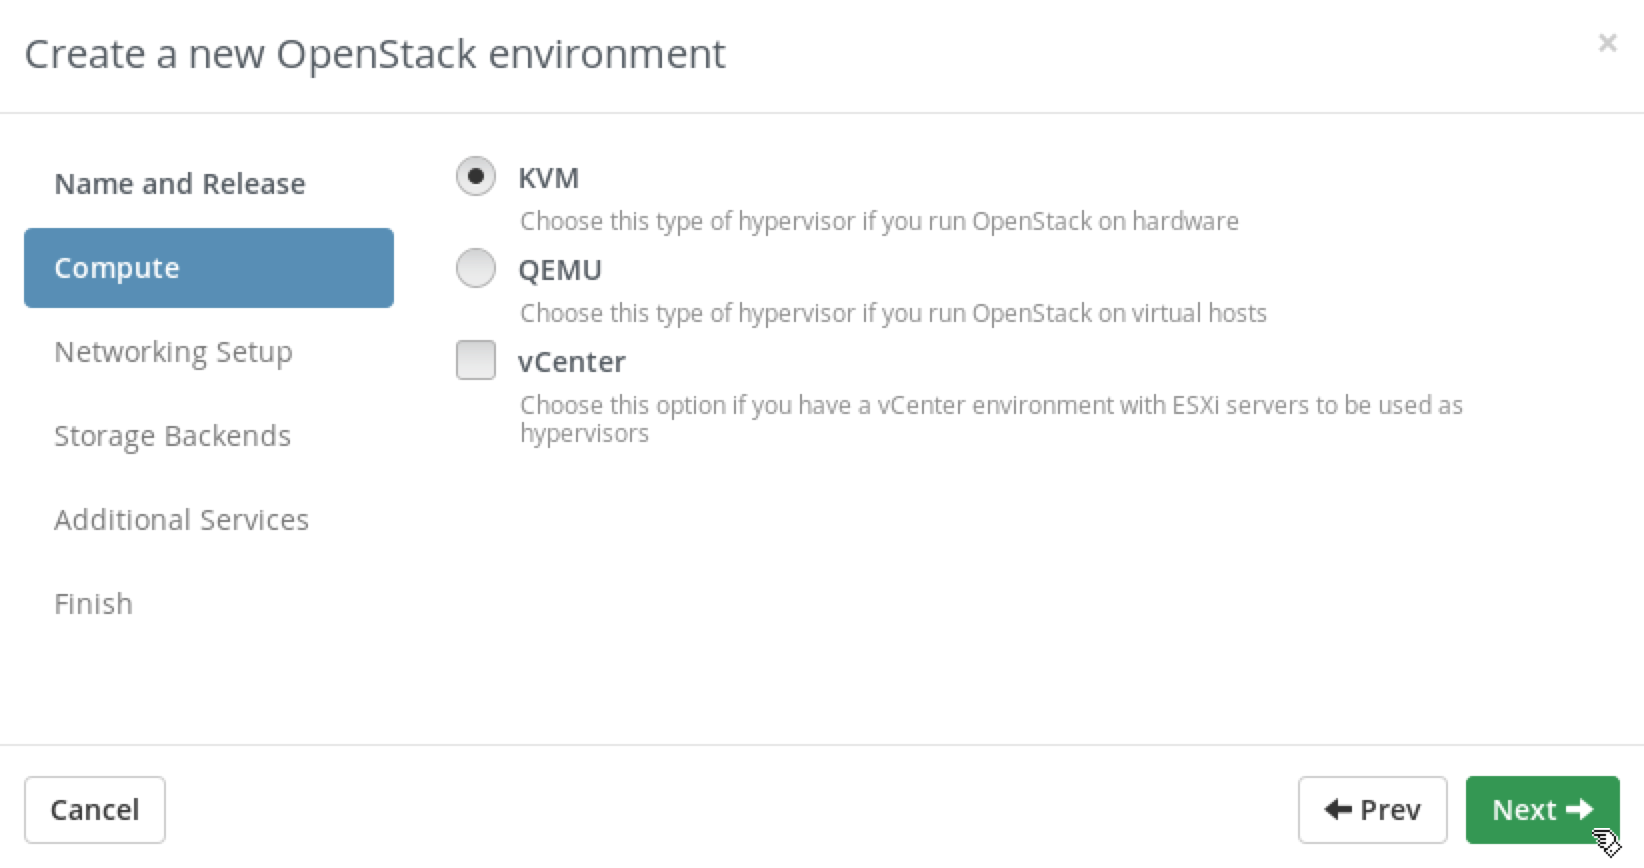
For the next step we created a new OpenStack environment following the steps from section 4.3. Create a New Environment to create a new environment, with the exception of steps 4 and 7.
In Step 4 we choose the KVM option on Compute page:
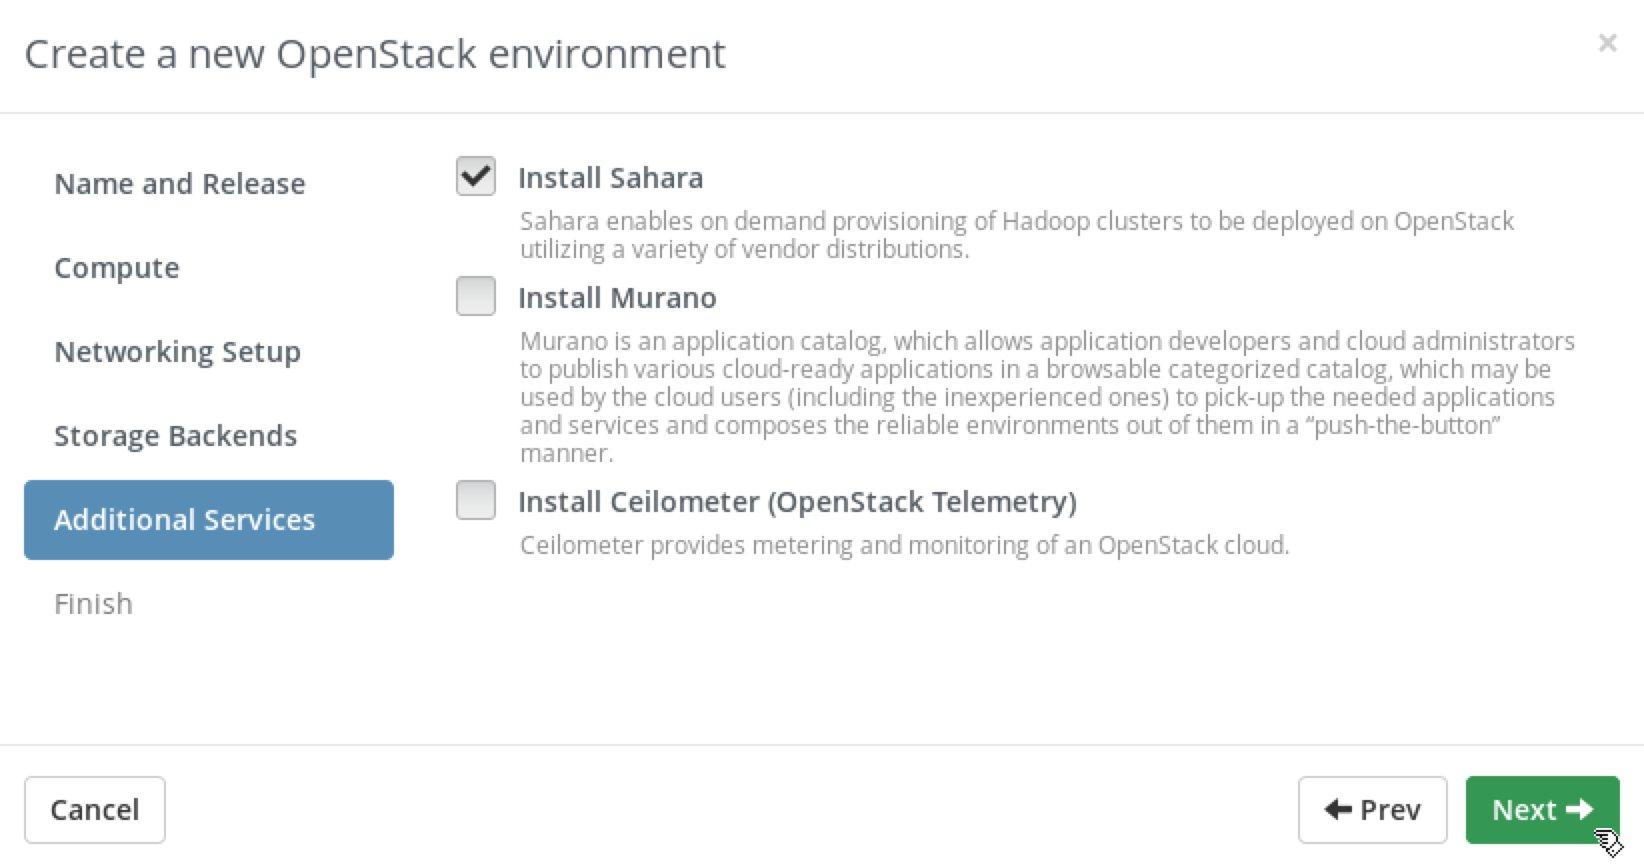
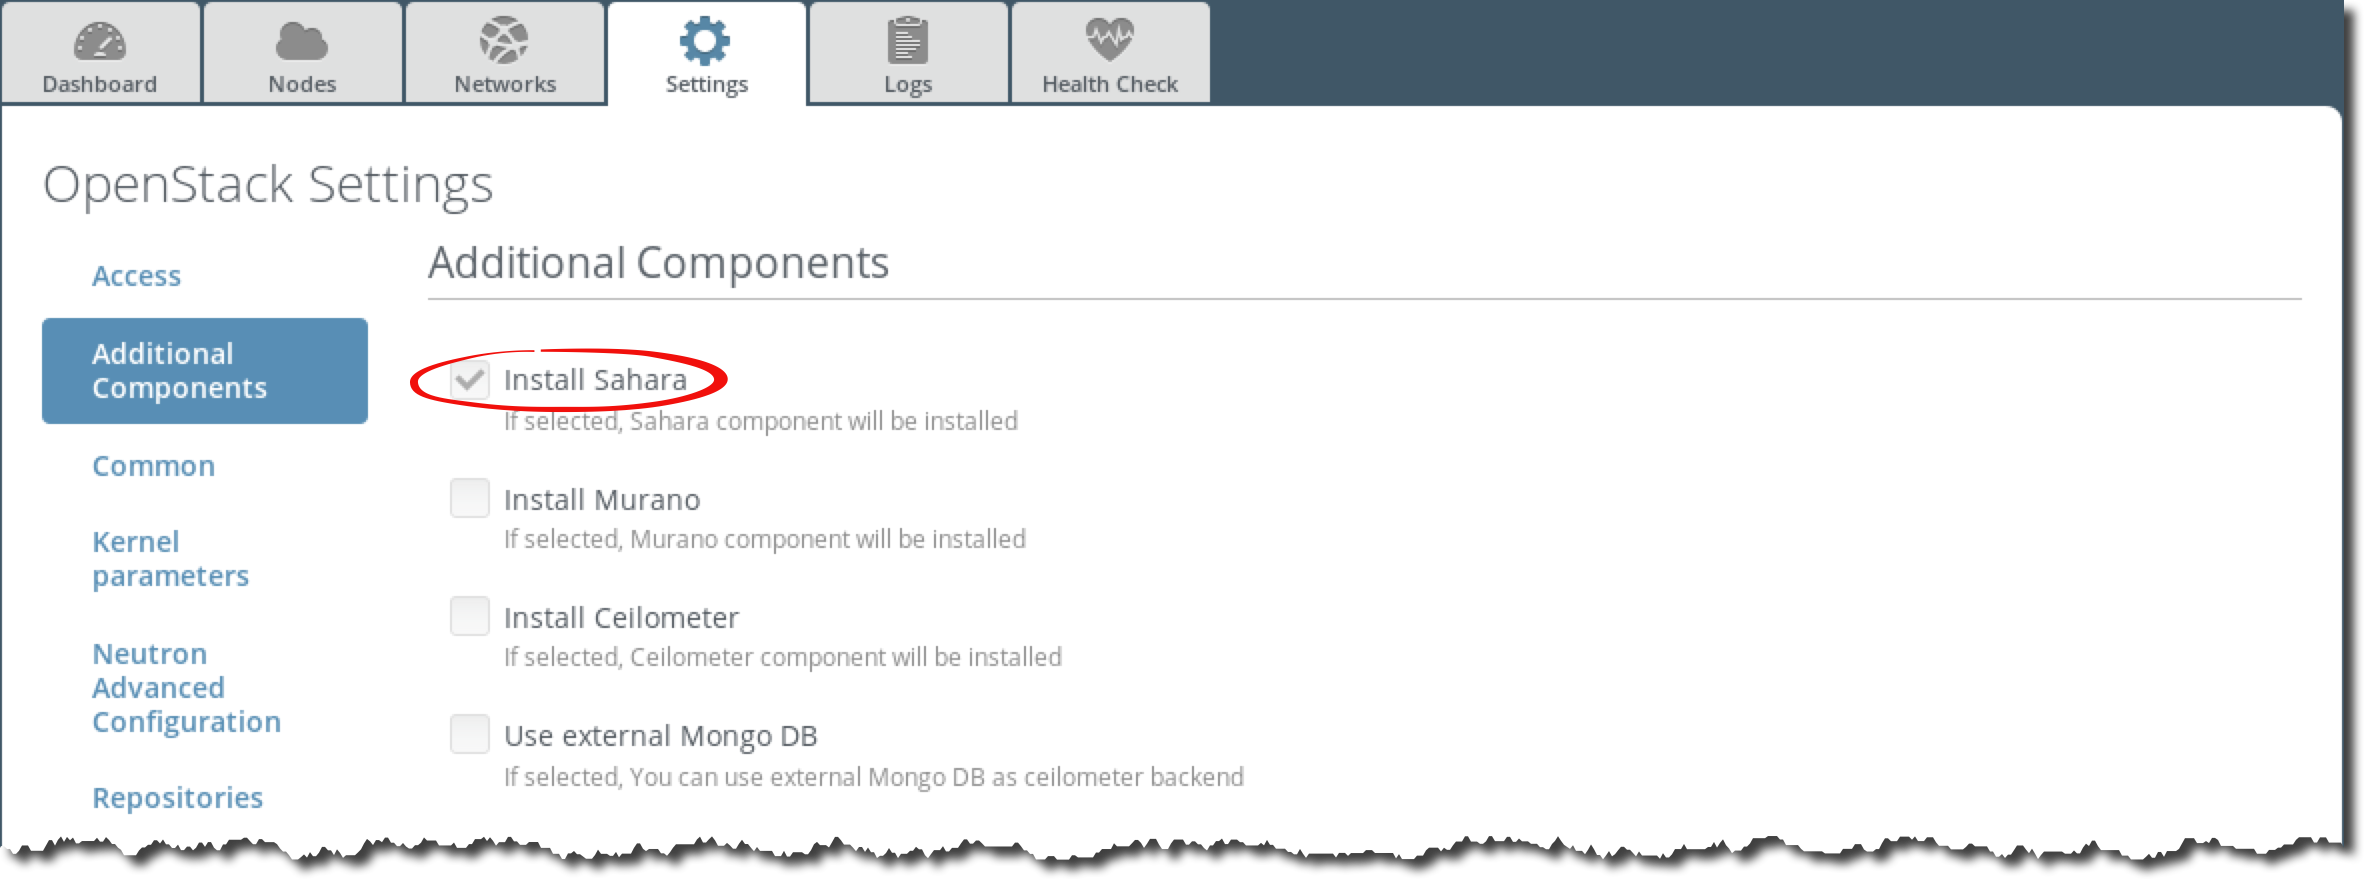
In Step 7 we checked the Sahara checkbox:
Then we assigned the Controller role to the controller node and the Compute role to both compute1 and compute2 nodes (see 4.4. Assign Roles to the Nodes section).
After that, we have deployed OpenStack environment, following the steps from 4.6. Deploy Simple Environment section.
11.3. How to check that Sahara has been installed
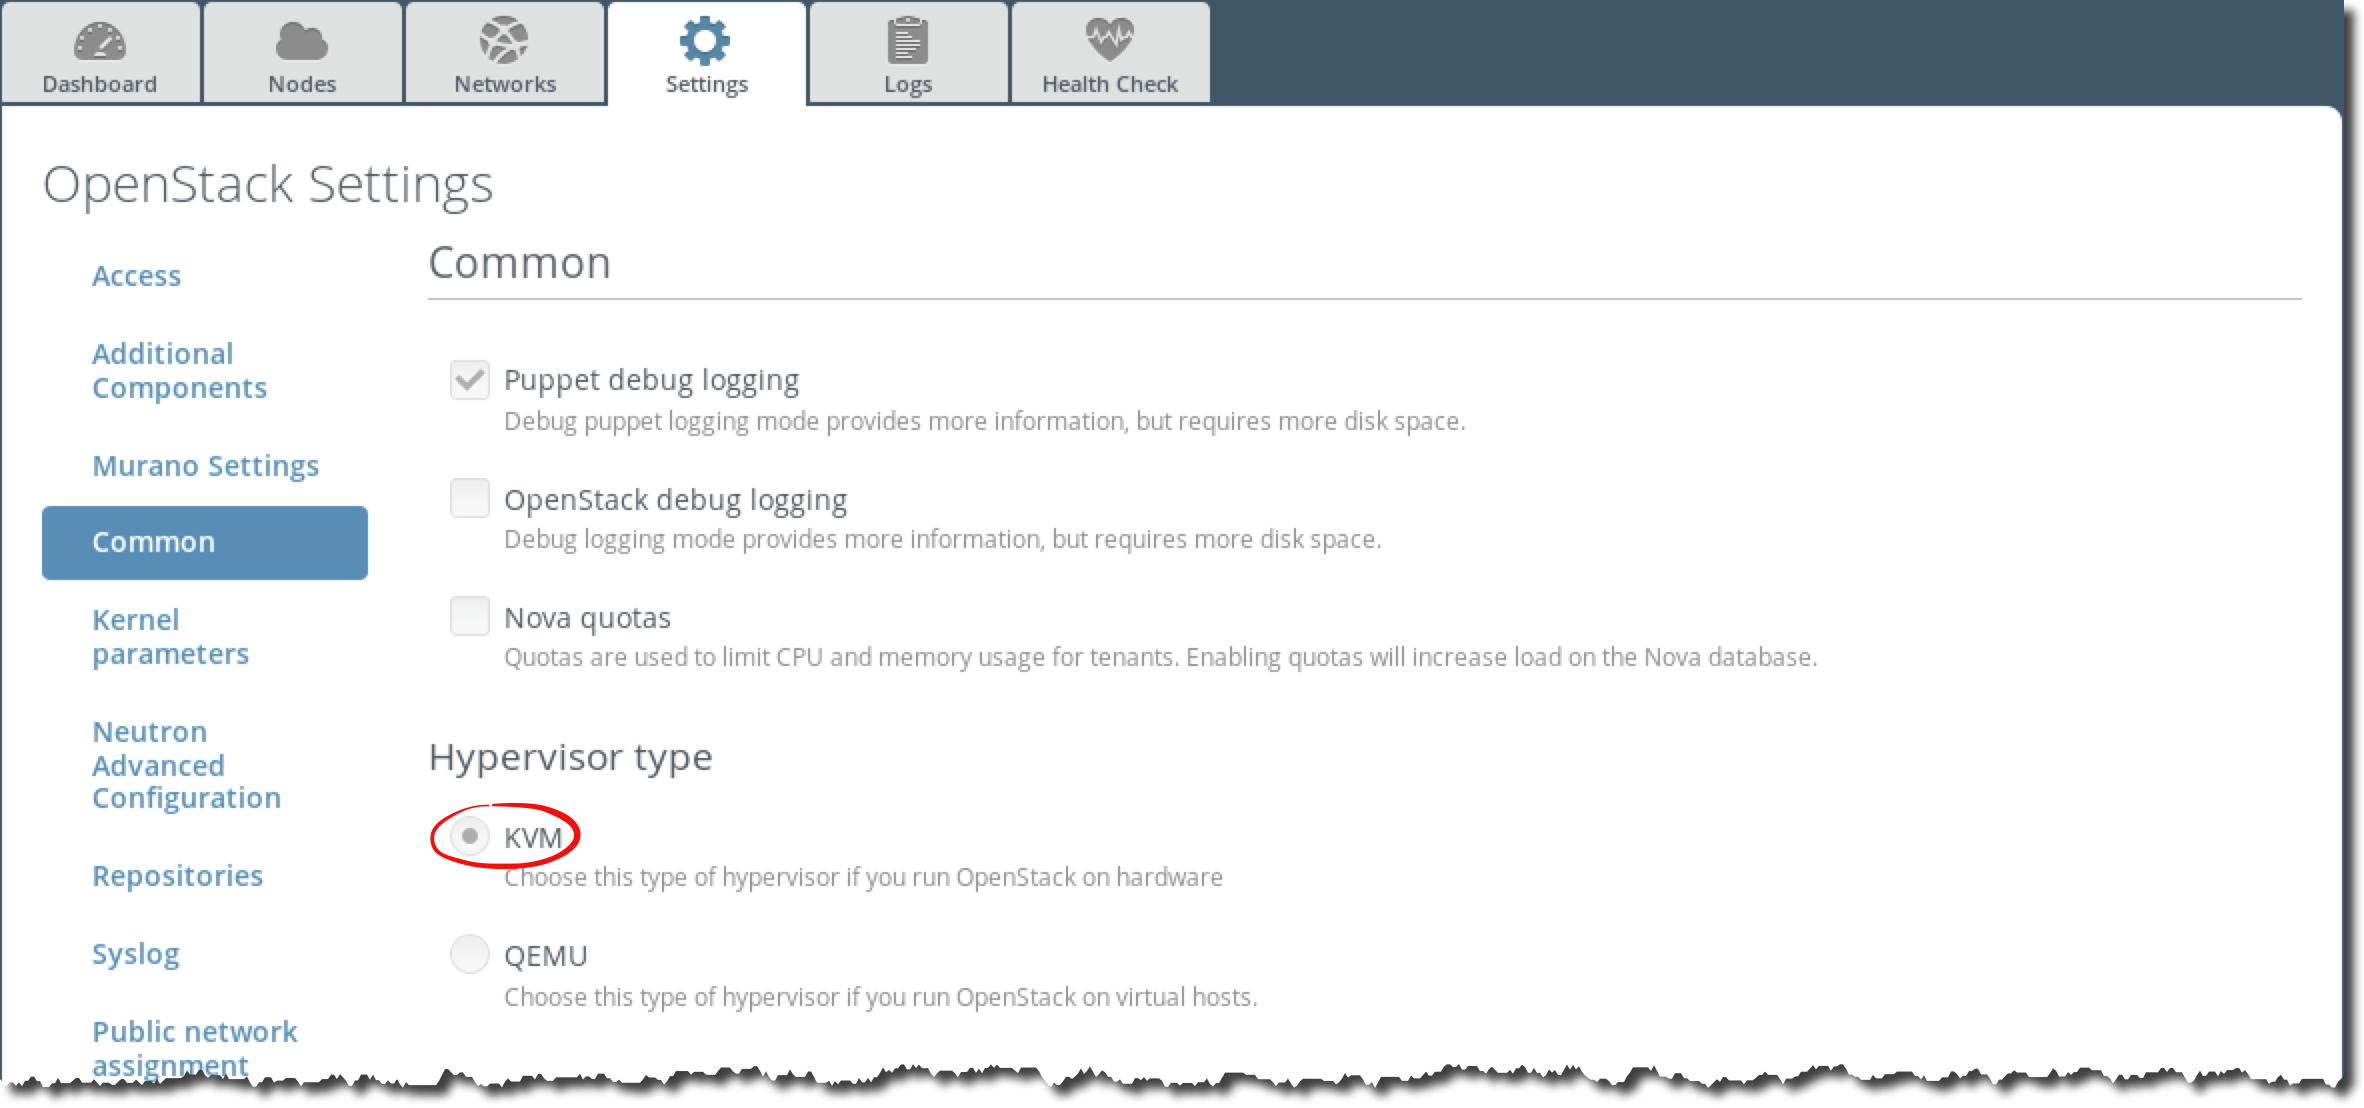
Log in to Fuel UI, choose Test environment, choose Settings tab.
Check that on the Common page KVM hypervisor is selected.
Check that on the Additional Components page Sahara checkbox is checked.
11.4. Register Sahara Image
The image is located in /pool/images directory. In this section you will upload the image into OpenStack Image Service (Glance) into the ‘admin’ tenant and name it ‘sahara’. You then will register the image in the Sahara Image Registry.
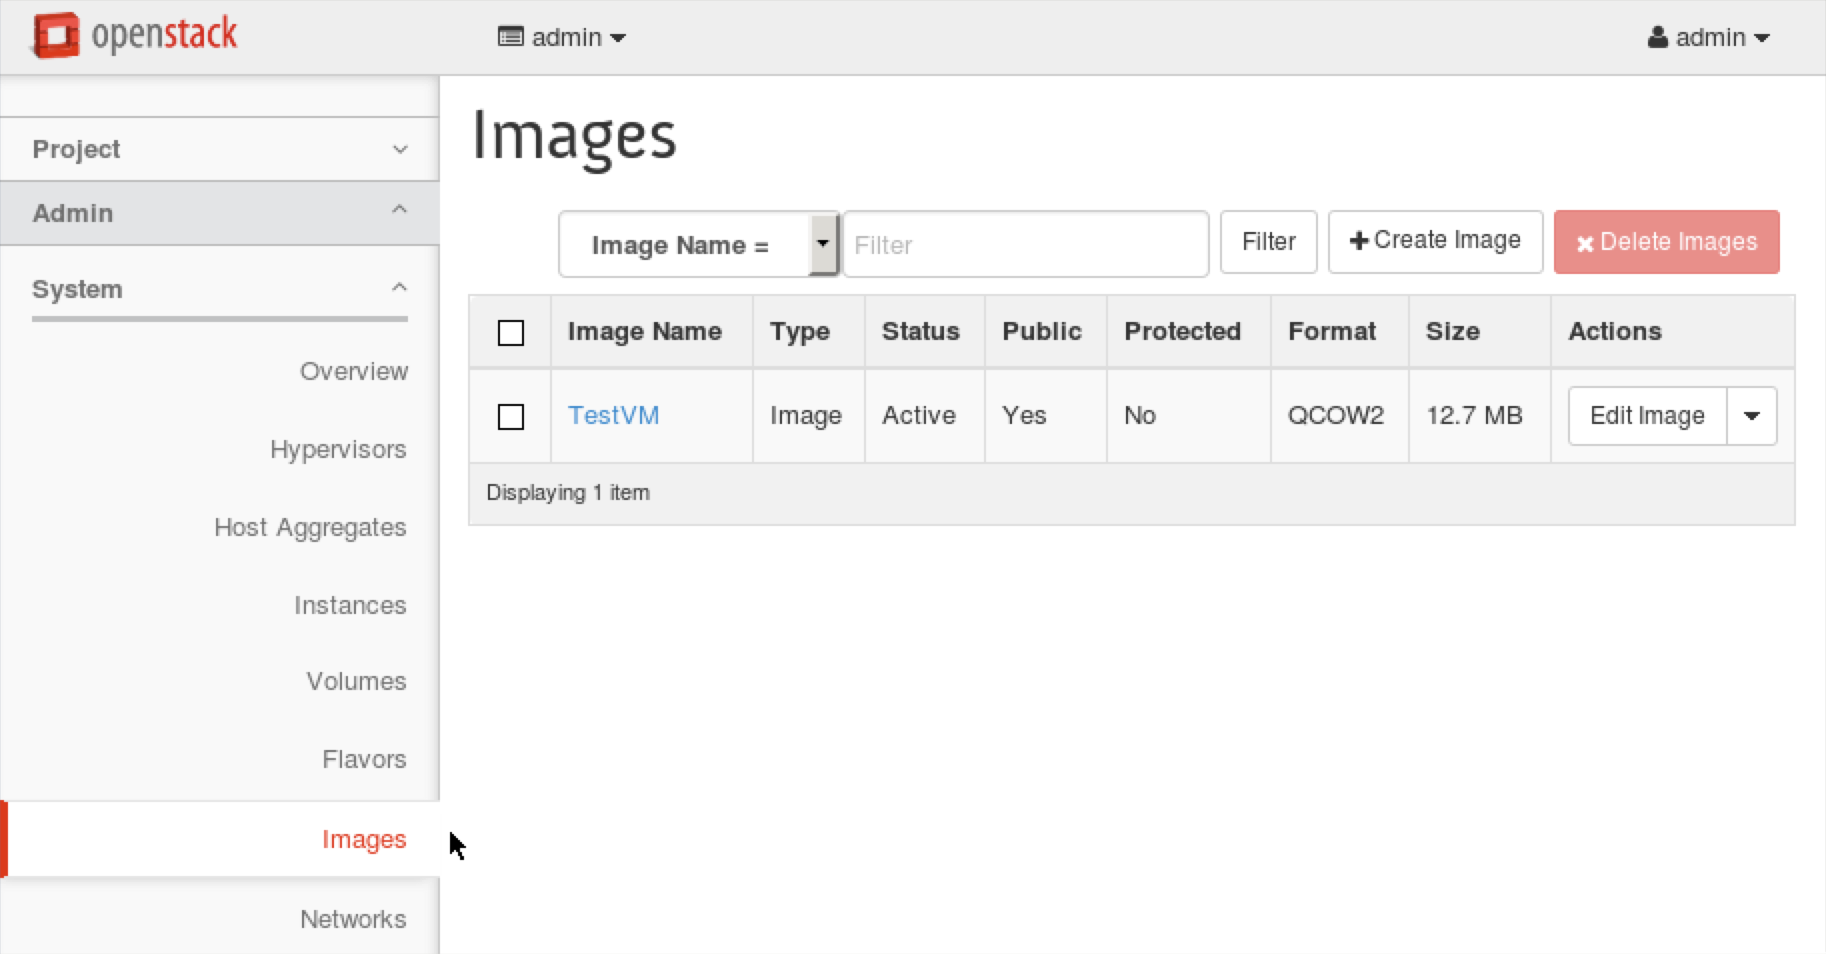
Step 1 Log in to Horizon. From the navigation menu choose Admin, then System, then Images.
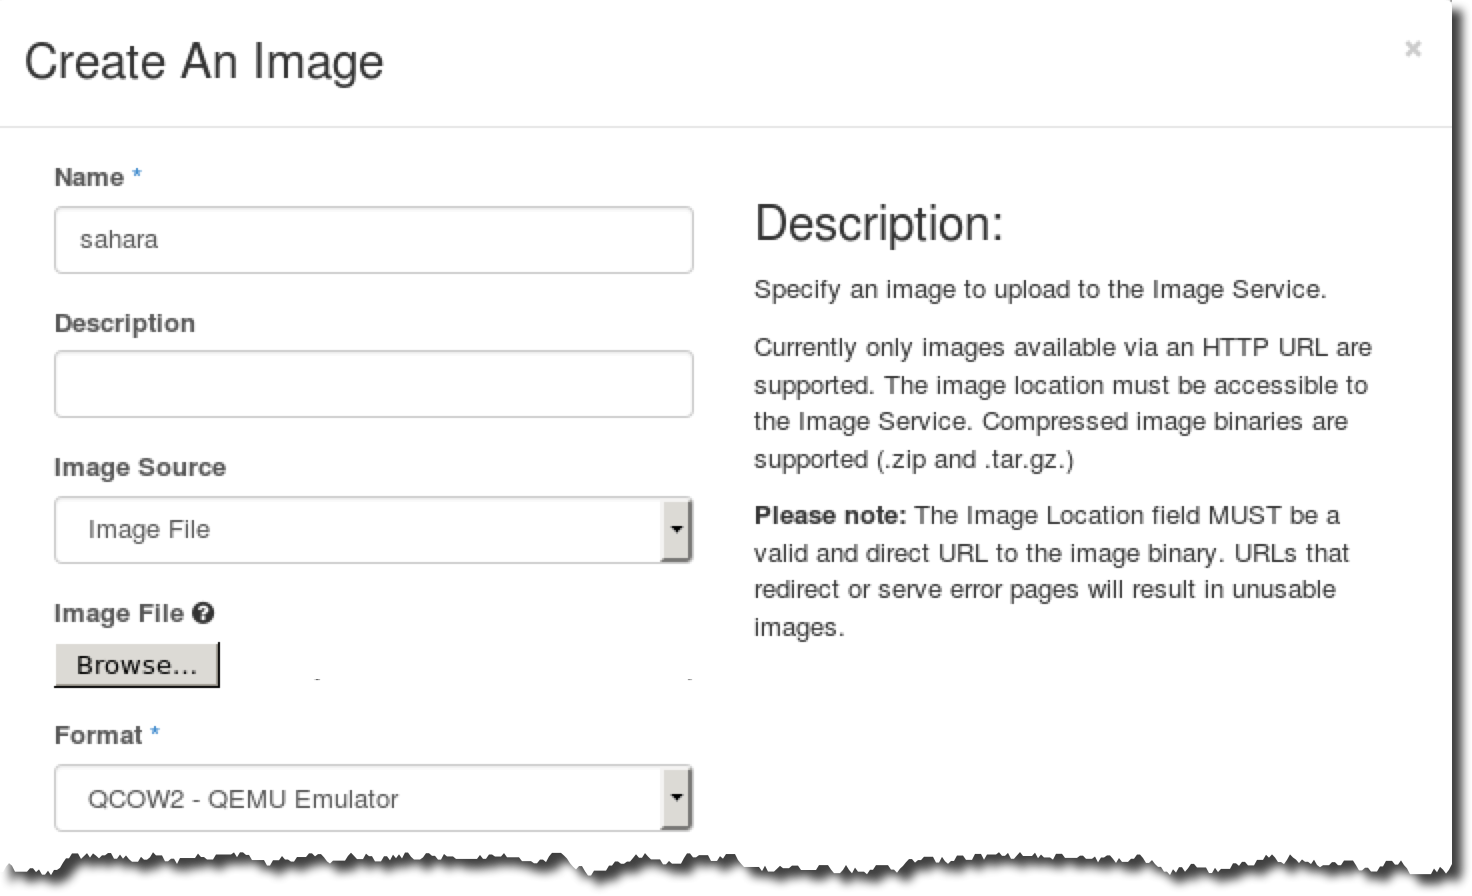
Step 2 Press Create Image. Enter sahara to the Name field. Choose Image File in the Image Source field. Press Browse... button, which is located near the Image File, and choose file /pool/images/sahara-kilo-vanilla-2.6.0-ubuntu-14.04.qcow2. Press Create Image.
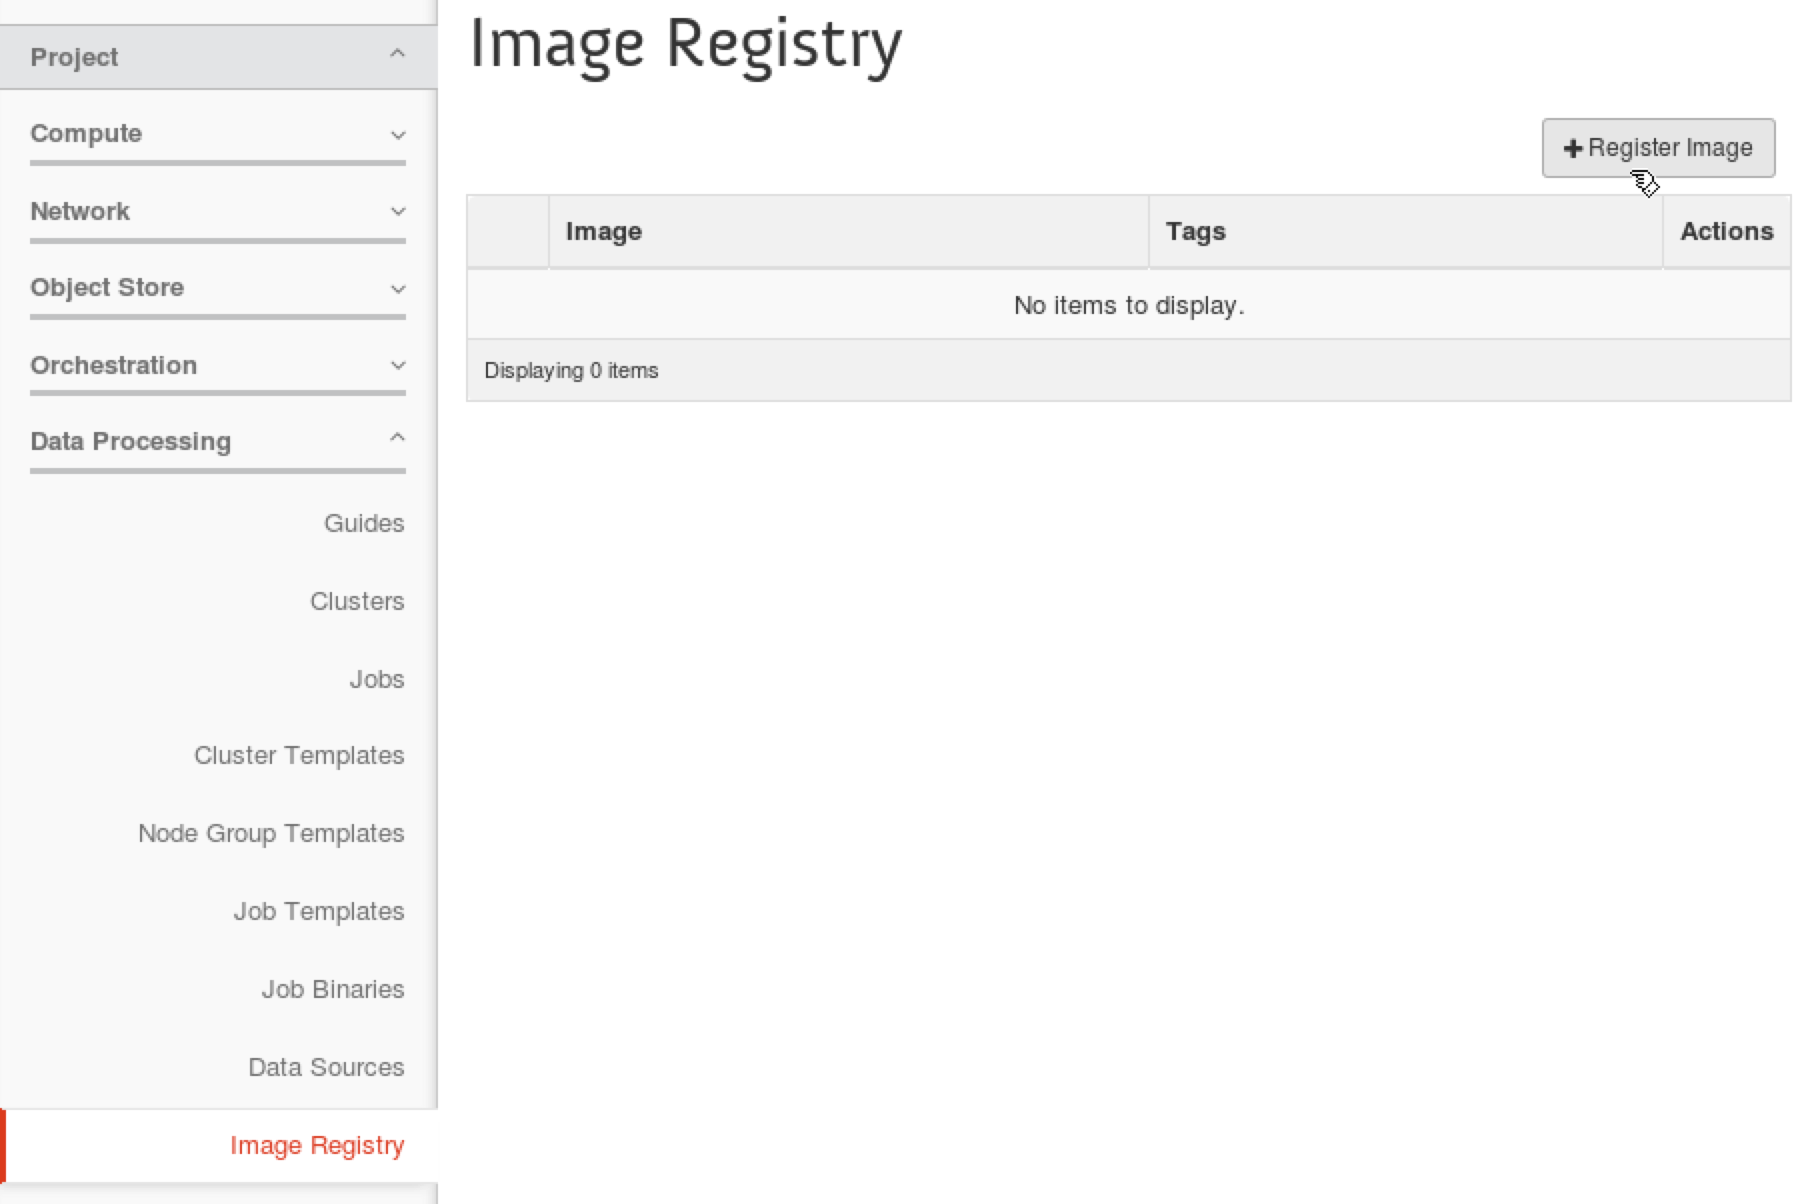
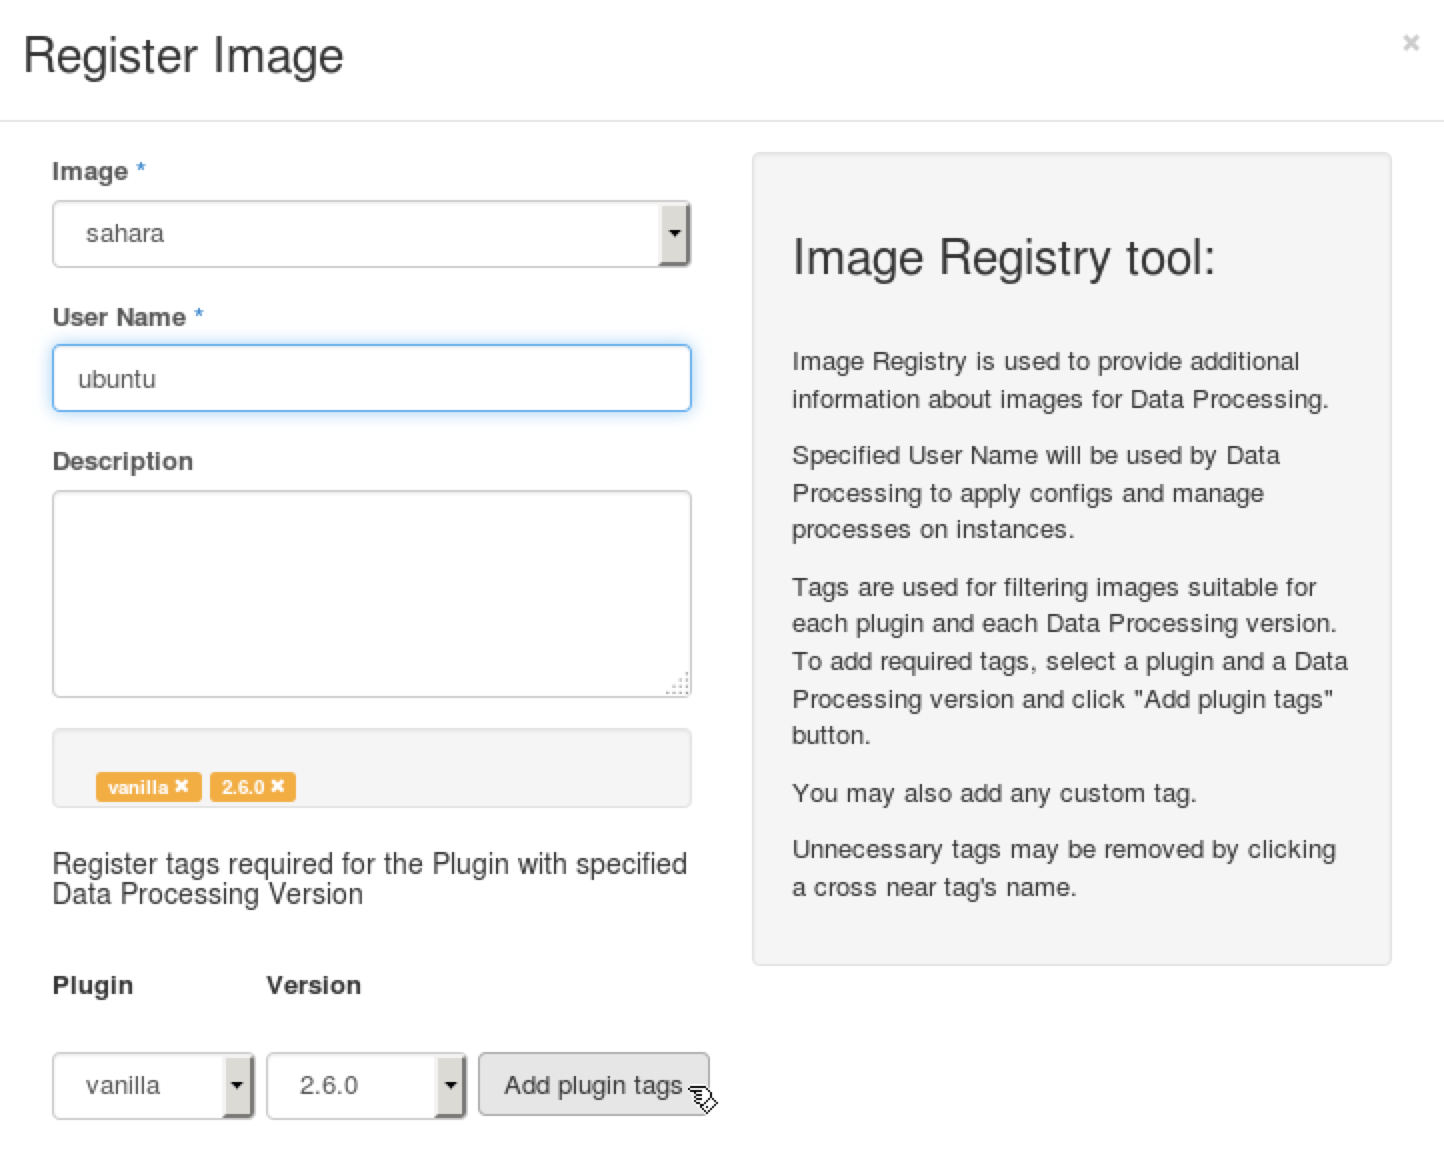
Step 3 From the navigation menu, choose Project, Data Processing, Image Registry. Press the Register Image button.
Step 4 In the Register Image dialog choose sahara in the Image field. Enter ubuntu to the User Name field. Choose vanilla in the Plugin field, 2.6.0 in the Version field and press Add plugin tags. Press Done.
11.5. Configure Hadoop Cluster Template
You will use predefined templates for Vanilla Apache Hadoop cluster. You will change the corresponding cluster template to use 1 worker node instead of the default 3.
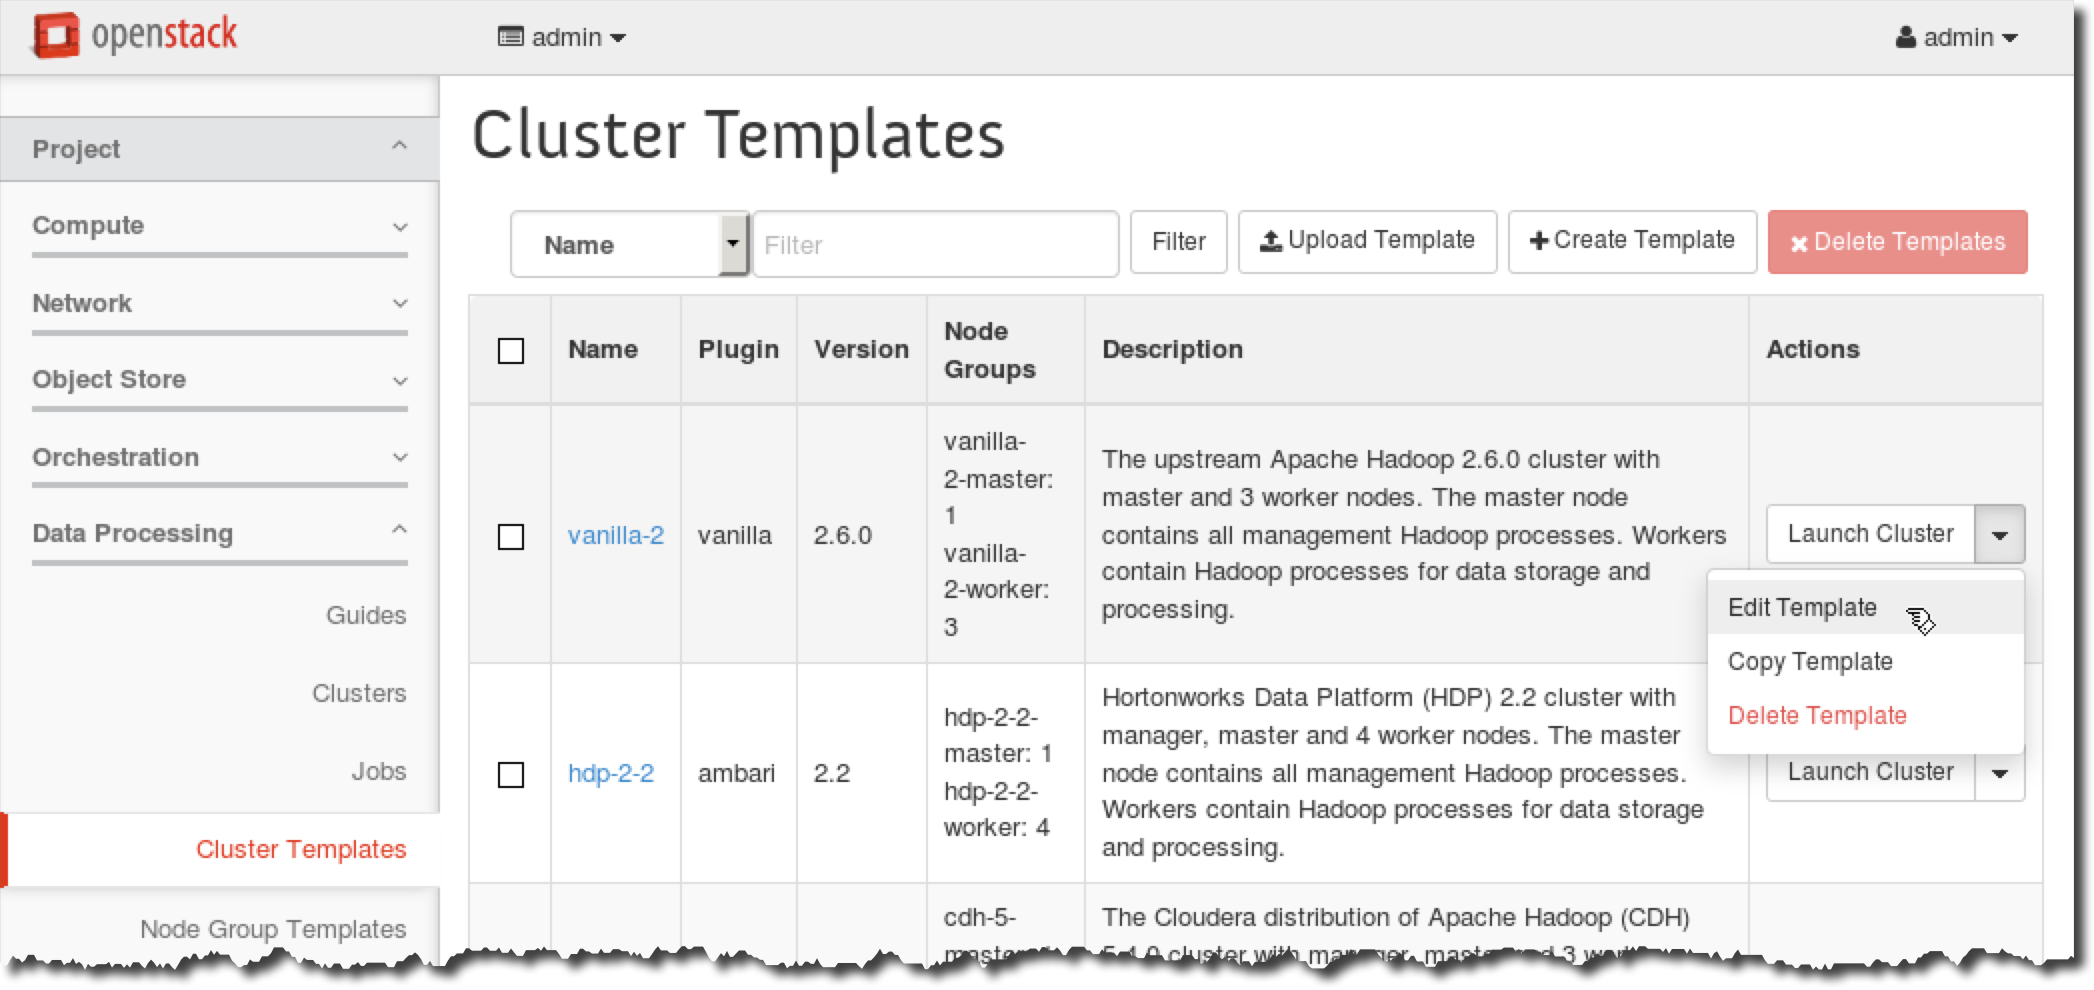
Step 1 From the navigation menu choose Project, Data Processing, Cluster Templates. For the vanilla-2 template choose the Edit Template action.
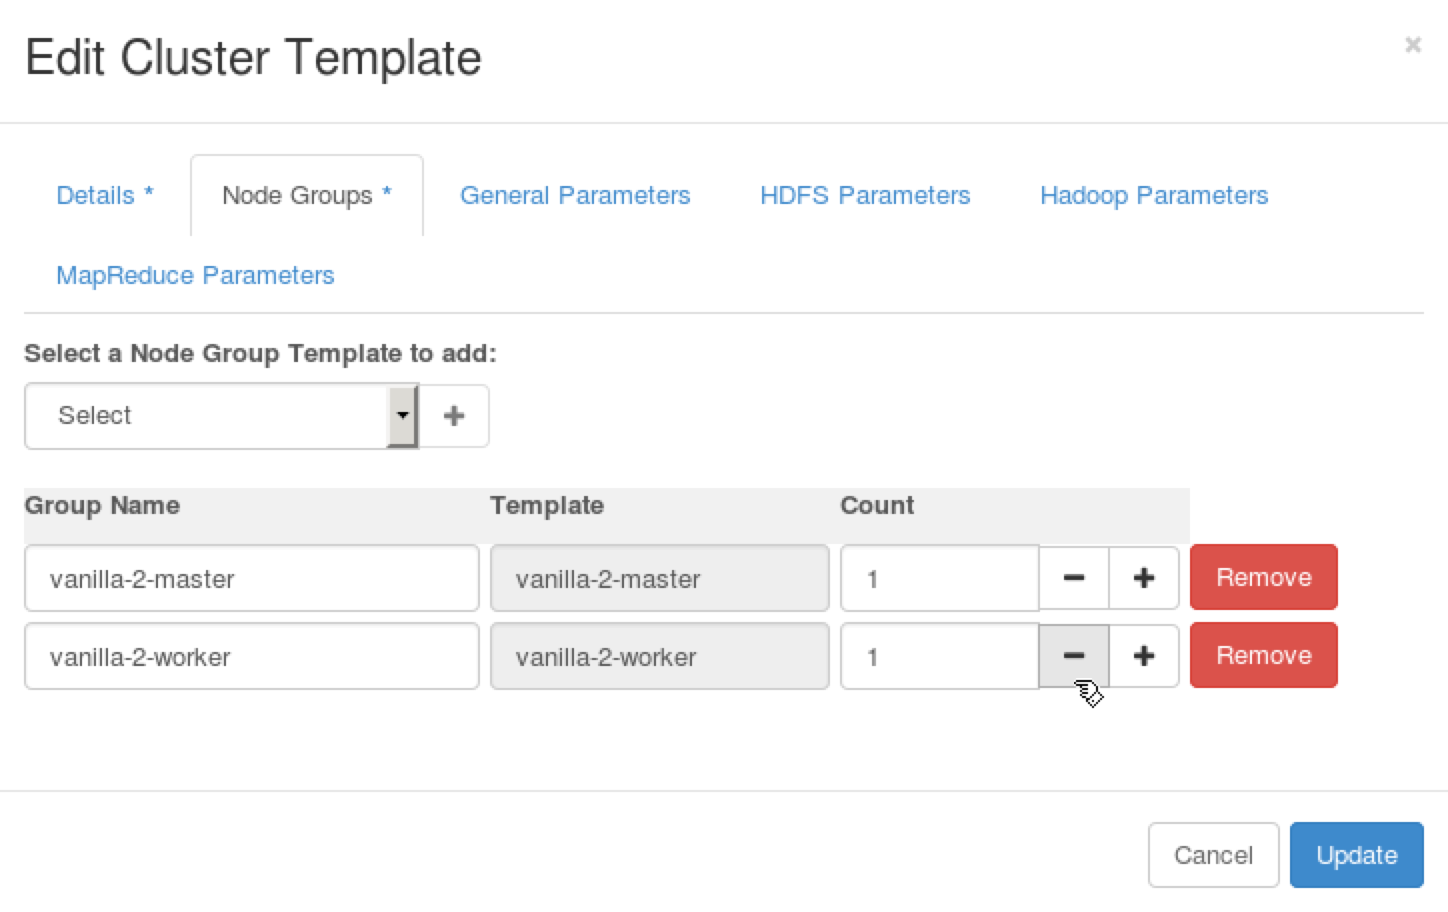
Step 2 In the Edit Cluster Template dialog, choose the Node Groups tab. Enter 1 to Count field for vanilla-2-worker node group.
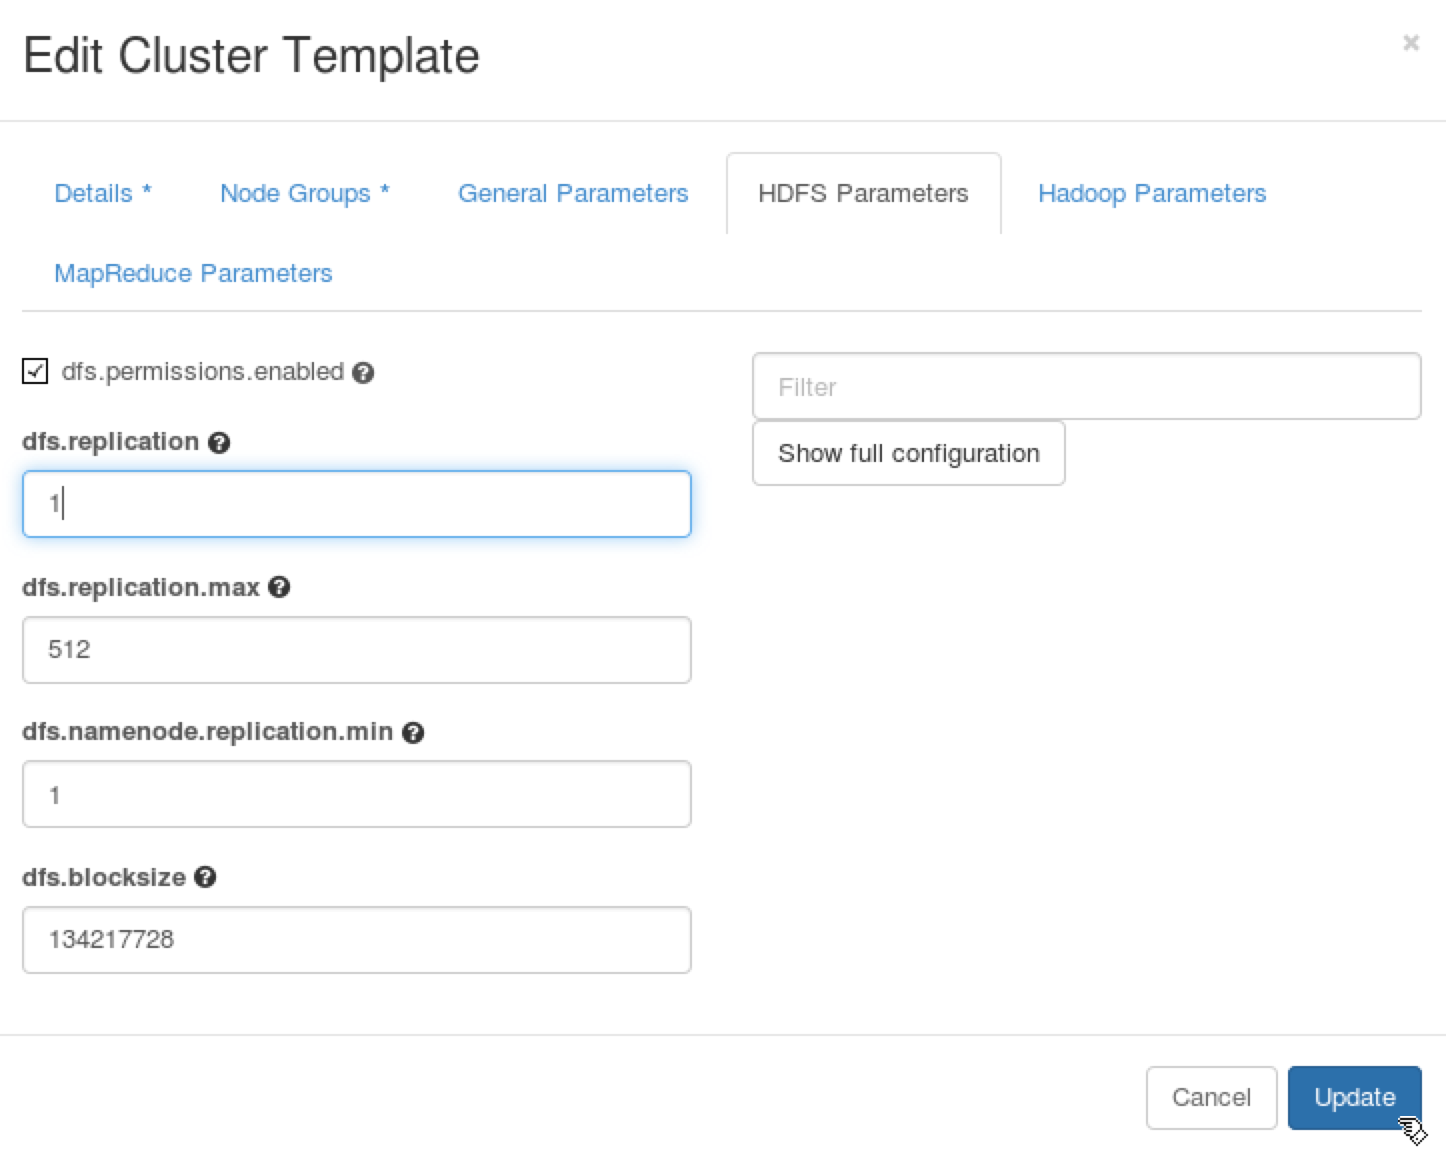
Step 3 In the Edit Cluster Template dialog choose HDFS Parameters tab. Enter 1 to dfs.replication field. Press Update.
11.6. Deploy Hadoop Cluster
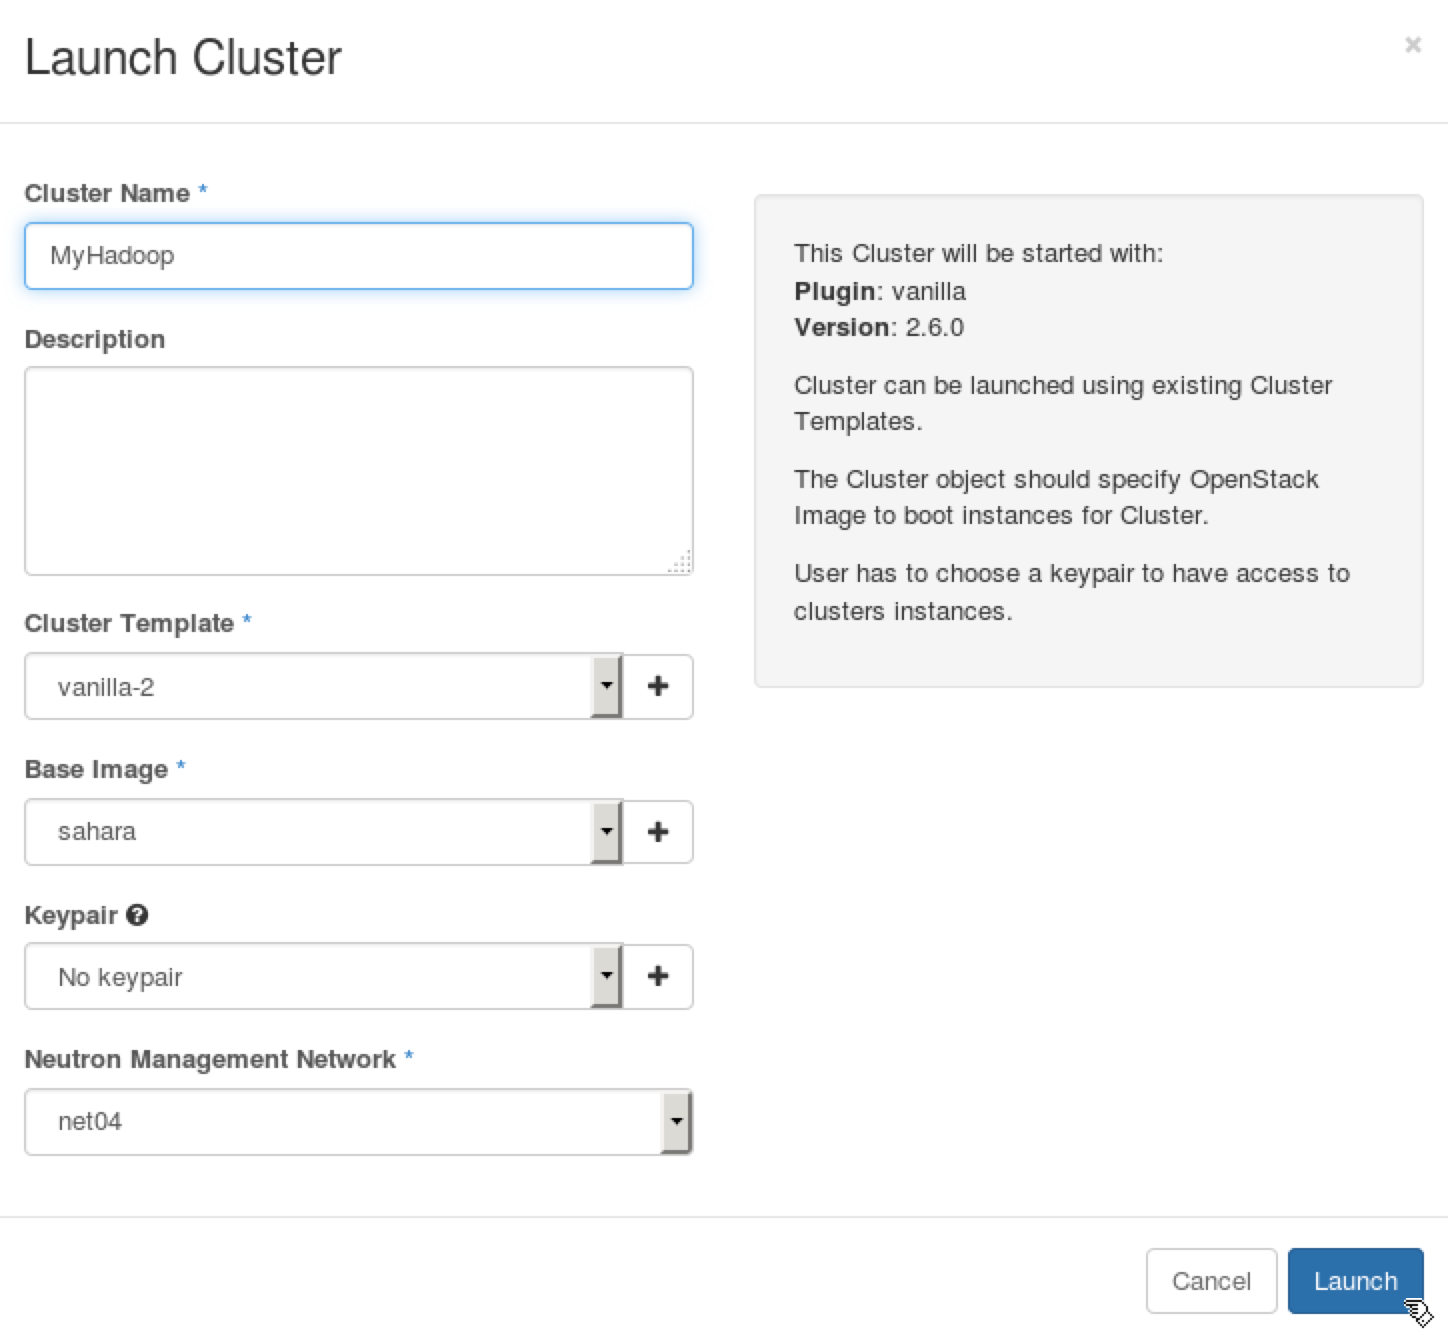
Step 1 From the navigation menu choose Project, Data Processing, Cluster Templates. For the vanilla-2 template, choose the Launch Cluster action.

Step 2 In the Launch Cluster dialog, enter MyHadoop to the Cluster Name field. Choose net04 in Neutron Management Network. Press Launch.
Step 2 Wait 7-10 minutes while Sahara deploys the Hadoop cluster.
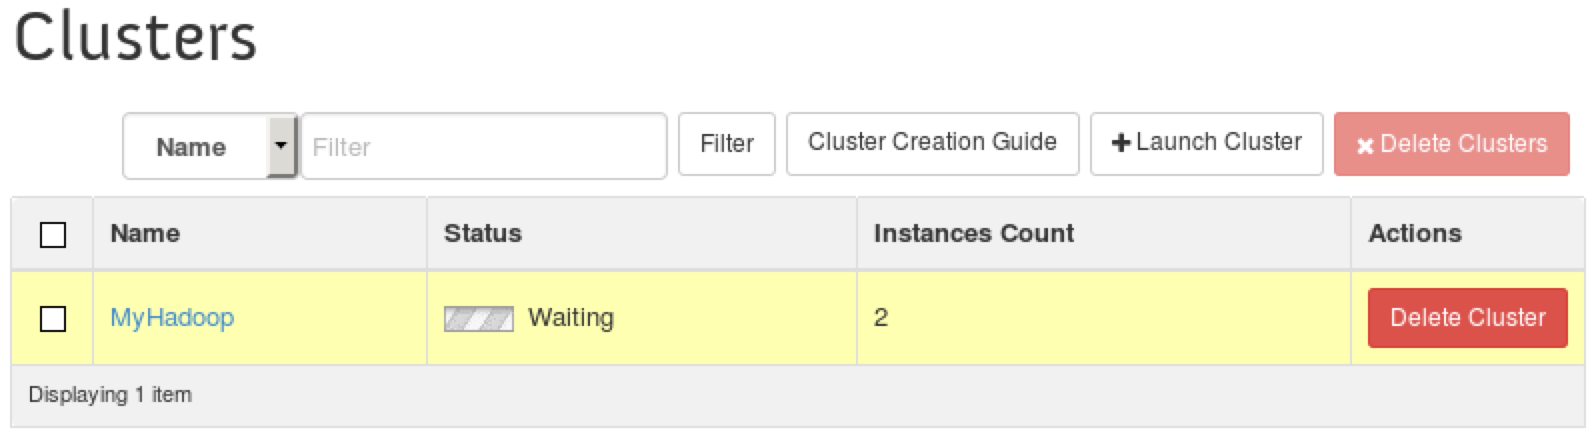
During the deployment, you can click on cluster’s name to open the Cluster Details page. On this page, choose the Cluster Events tab to see detailed deployment log.

Finally, Sahara should show an Active status for the cluster.

11.7. Verify Hadoop Cluster
Click on the cluster’s name to open the Cluster Details page. On this page, choose the General Info tab.
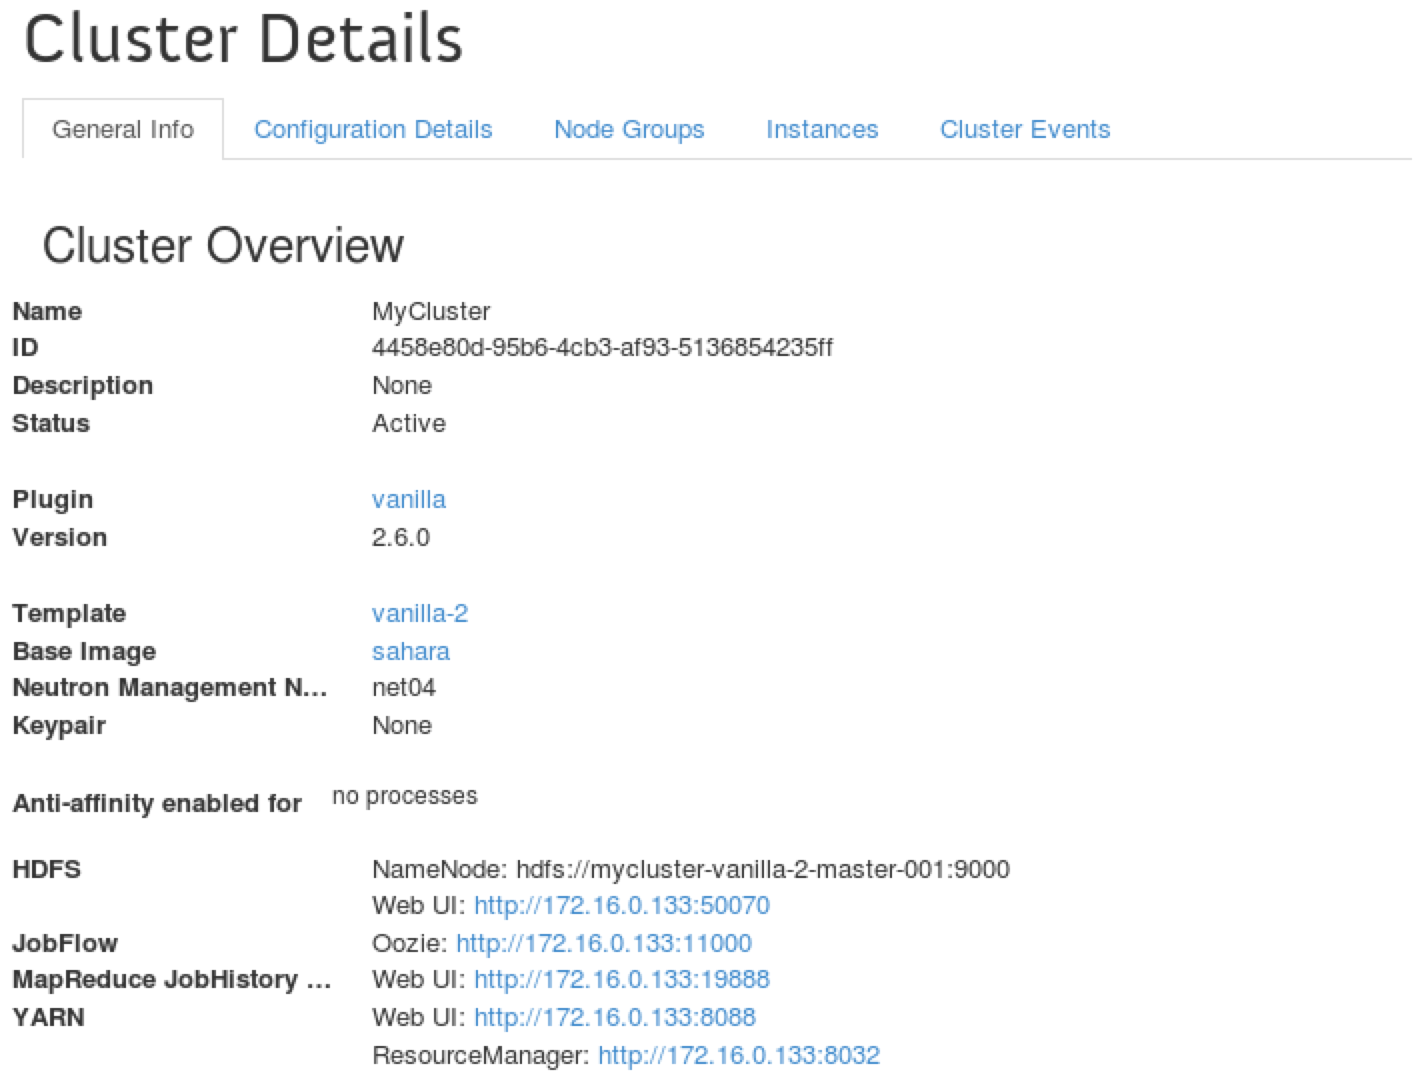
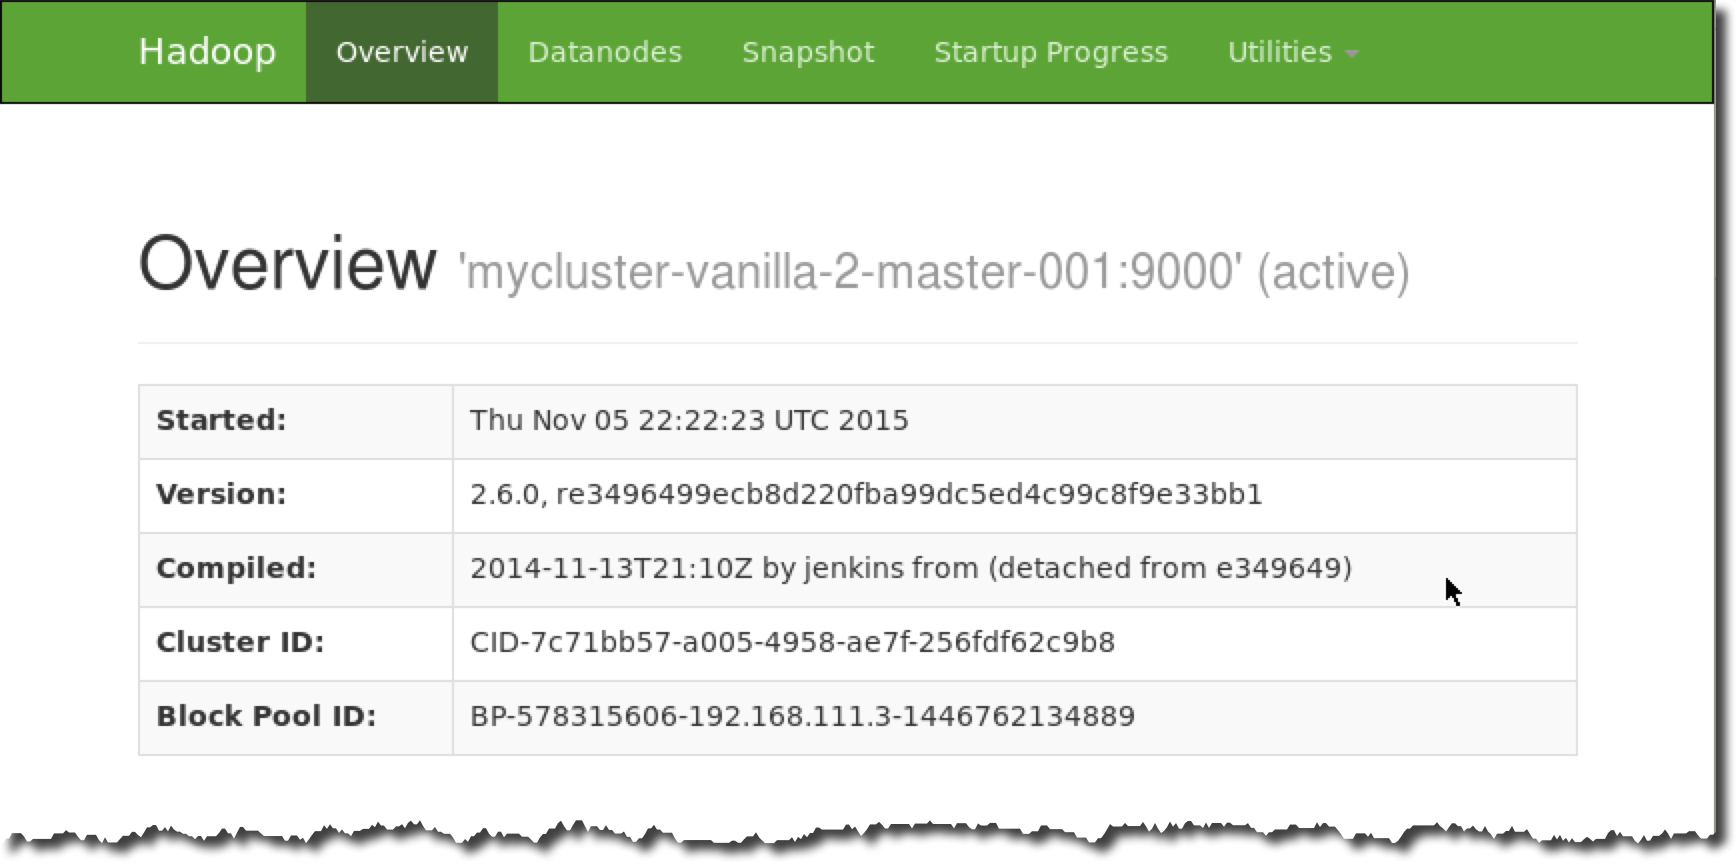
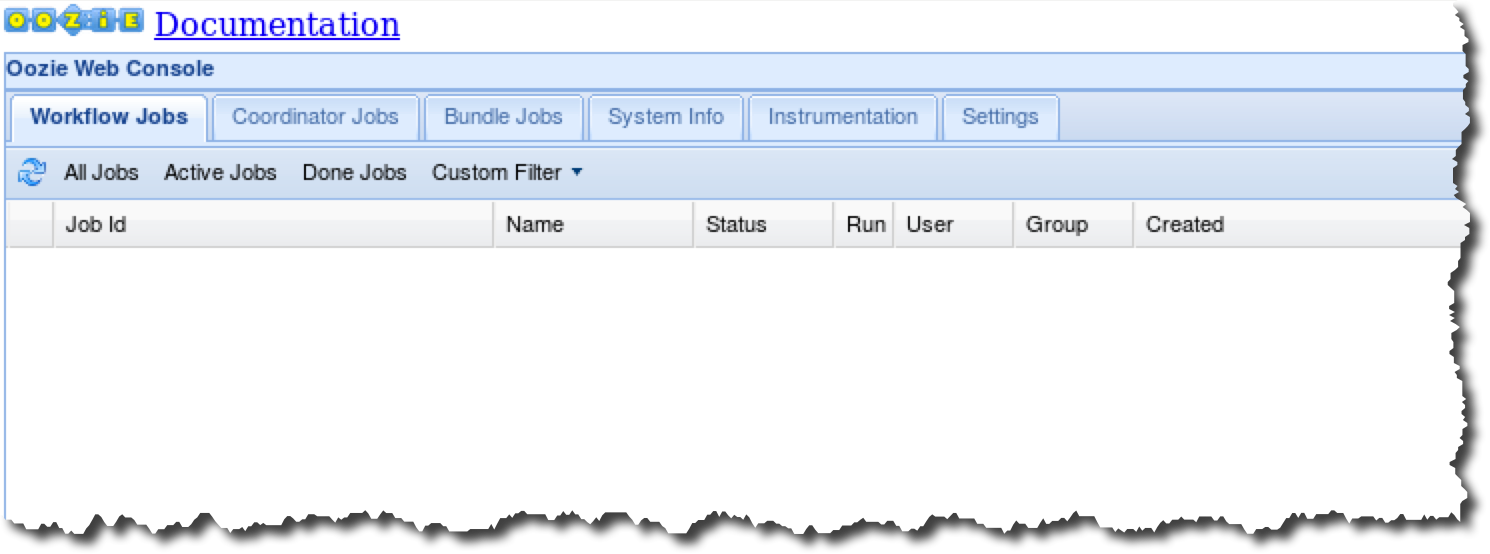
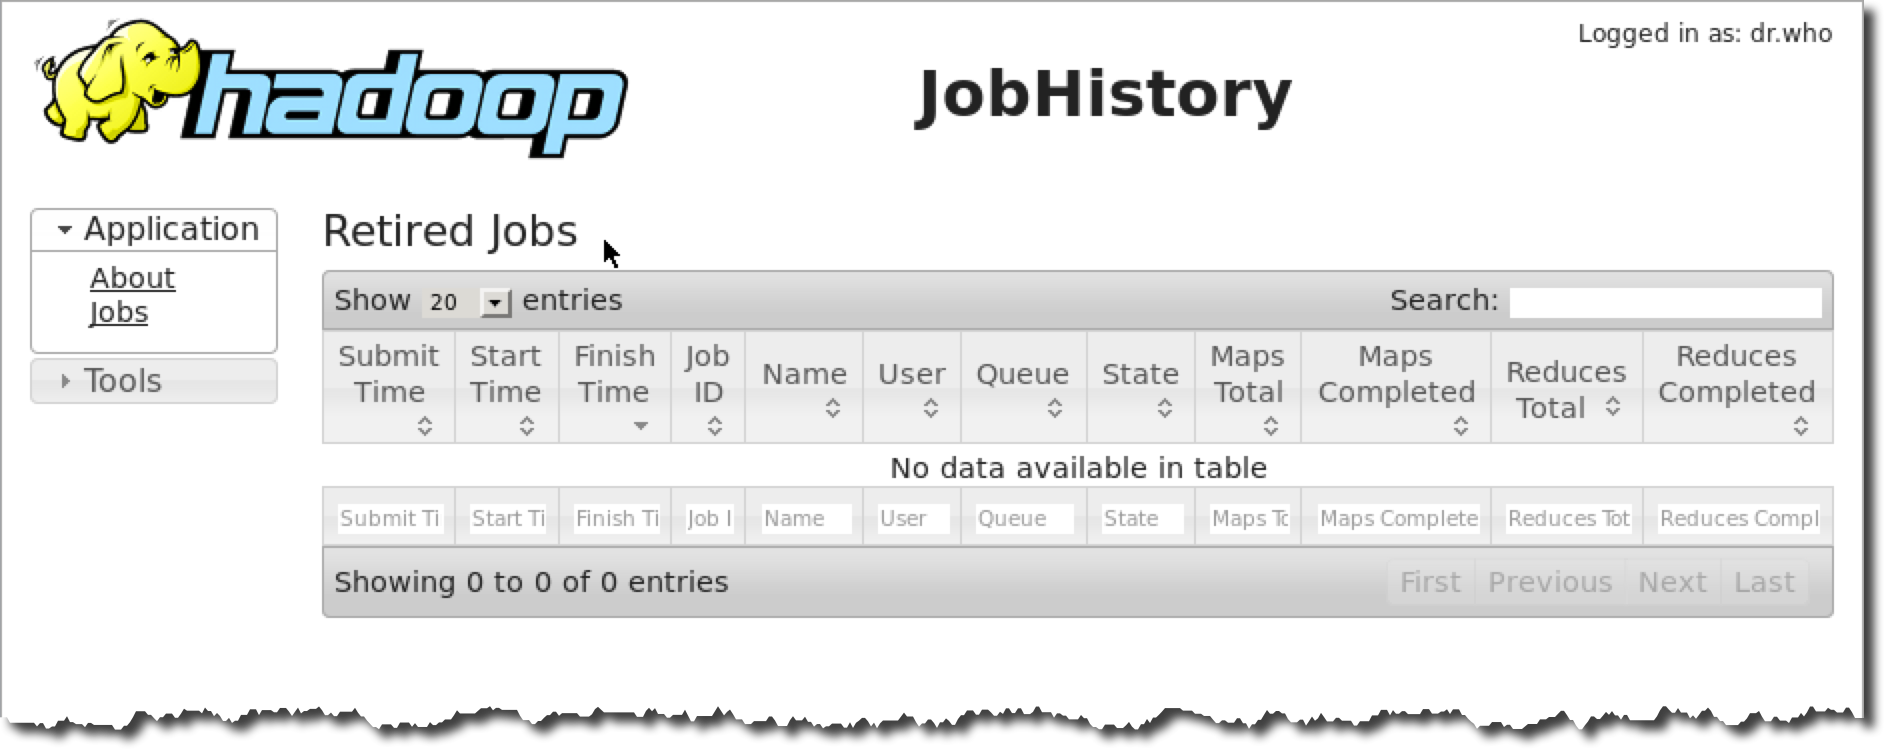
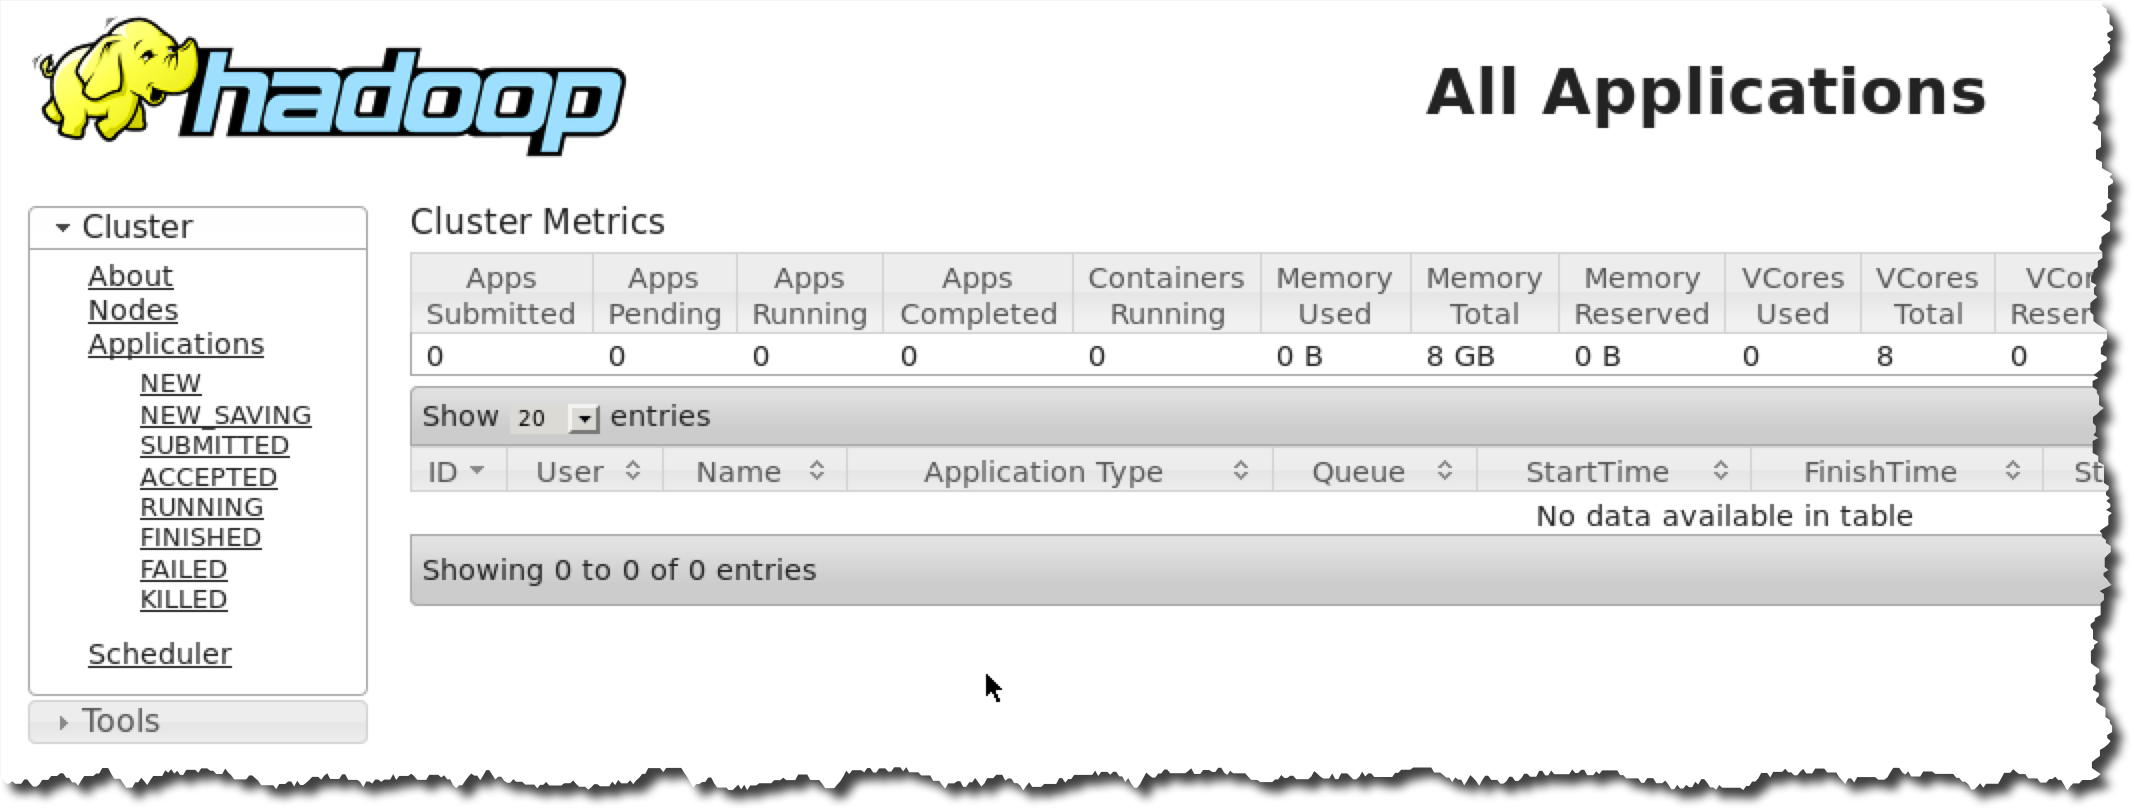
Use the links on this page to access UI of Hadoop cluster components
HDFS Web UI (http://172.16.0.133:50070)
Oozie Web Console (http://172.16.0.133:11000)
MapReduce JobHistory Web UI (http://172.16.0.133:11000)
YARN Web UI (http://172.16.0.133:8088)
Checkpoint
- Check that the OpenStack environment was deployed with Sahara
- Register Sahara image for Vanilla Apache Hadoop
- Edit Hadoop cluster template
- Deploy Hadoop cluster
- Check that the Hadoop cluster is working